Anyone who has a dog knows how easy it is to spoil them.
Just last week, I went to a department store to buy something for myself and ended up walking out of the store with $30-worth of dog treats and toys.
Many people treat their pets like their fur babies and truly want to give them the best. Plus, they’re just so darn cute that it’s impossible to say “no” to their little faces!
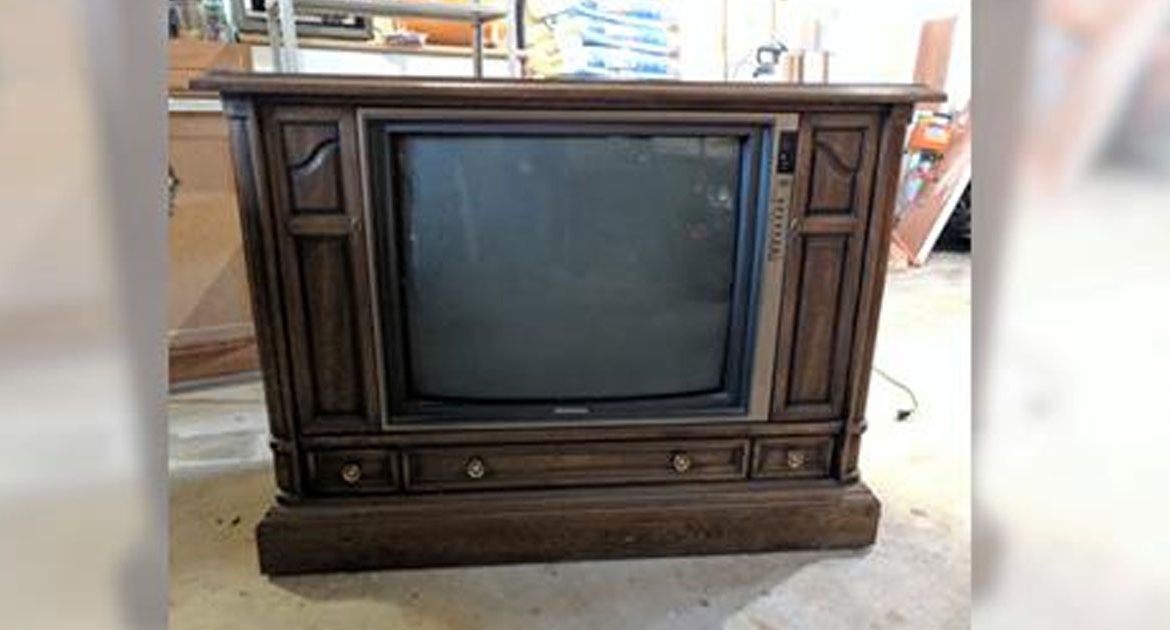
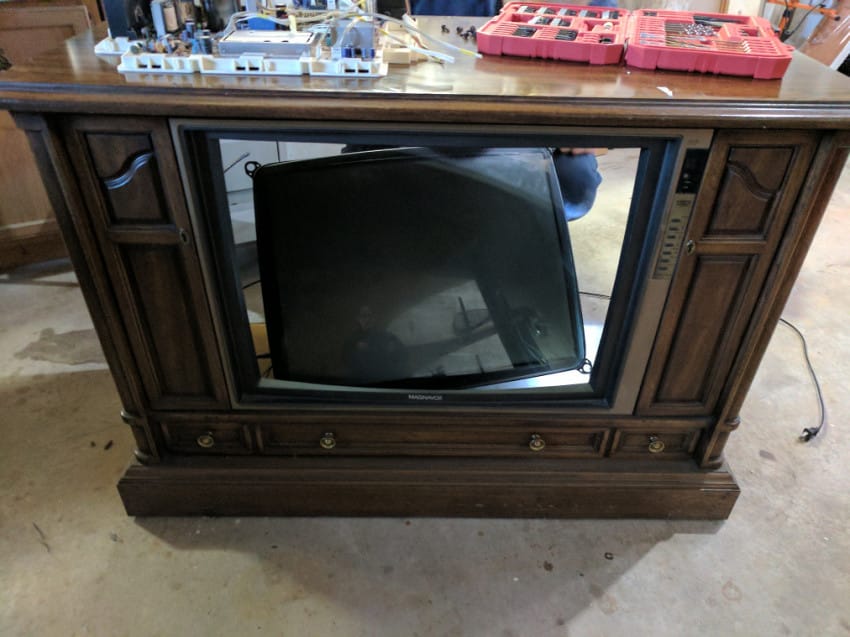
One woman knows this better than anyone. She recently went to a local thrift store in Baltimore, Maryland, and found an old-school wood-framed television.
She immediately knew what she wanted to do with the television: transform it into a piece of furniture for her dog.
An old-school TV wouldn’t make most of us think to make a dog bed, but this transformation is truly brilliant.
Would you ever build a custom bed for your precious dog? Let us know in the comments and please Liked Video
In her Imgur post, this proud pet owner explained she found the decades-old television at a store called Second Chance, in Boston.
Immediately, she knew she wanted to deconstruct the TV and transform it.
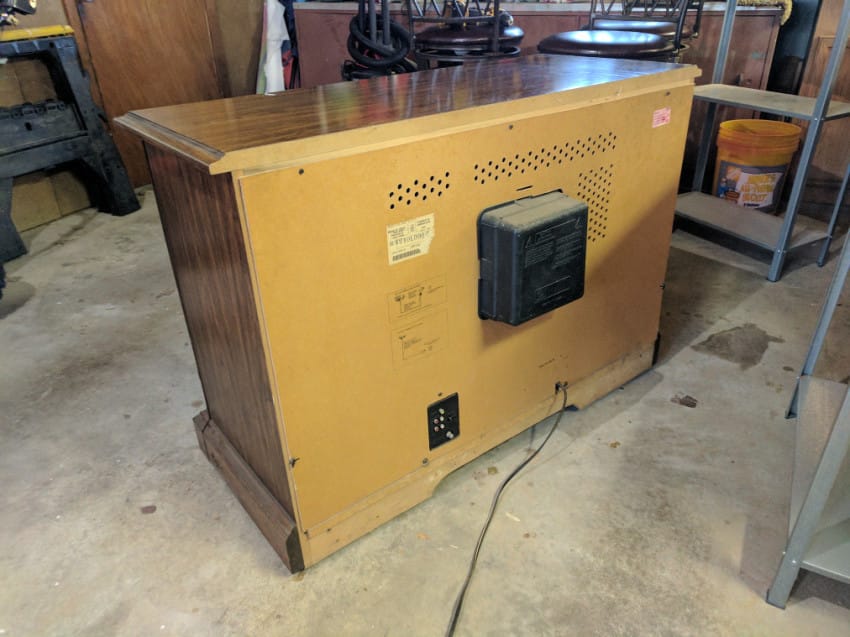
Tube TVs can be EXTREMELY dangerous to take apart because of the high charge the tube can hold for months or years after it was last powered off.
It can be strong enough to kill. Make sure you safely discharge the CRT before doing anything.
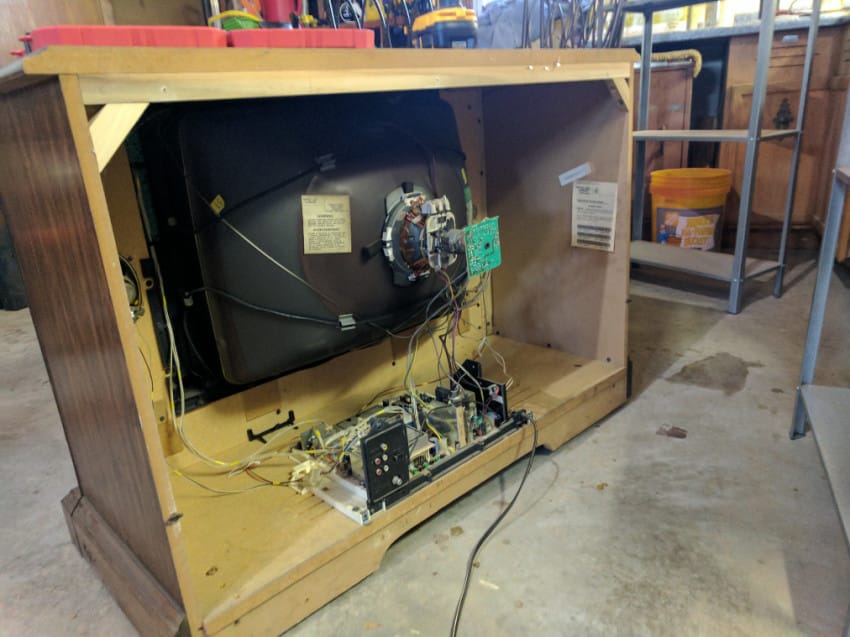
You can see the dark round connection on the top of the TV. You basically need to ground this so it can discharge.
A screwdriver works well, since the handle is normally a non-conductive material. Plus, it doesn’t hurt to be wearing rubber-soled shoes.
Taking the Tube out, easily 50% of the weight of the TV.
It was just secured with screws to the wooden frame and the screws and was fairly easy to remove [sic], just be ready to catch it as it comes out, since it is fairly heavy.

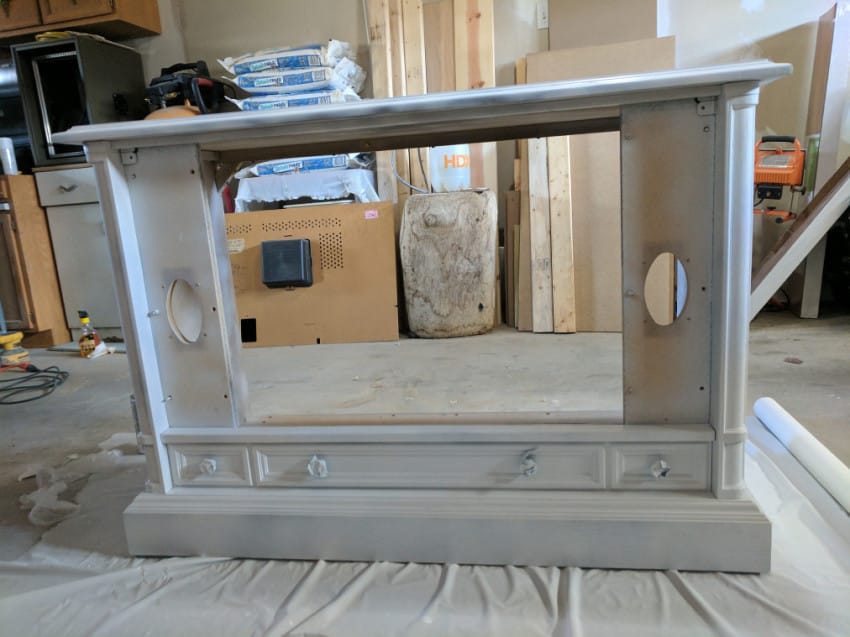
The original television had speakers in its sides. She realized she wouldn’t need to keep those — after all, the dog wouldn’t be listening to anything in there.
“Think the dogs would like stereo?” she wrote, “We had better plans for the sides, and got rid of the speakers.”
She continues, explaining the next few steps:
We first sanded down the entire surface so that it could be painted. The entire thing is made out of faux wood, namely particle board.
It had a veneer finish that we needed to paint over. And paint we did… Turns out particle board sucks up spray paint.
We quickly began using a white primer for a base coat, then white spray paint for the finish.
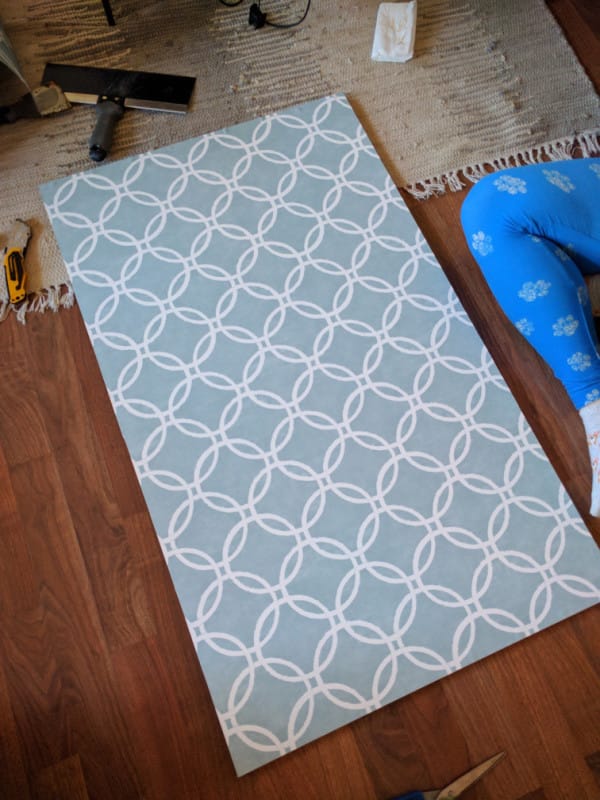 Putting wallpaper on the backboard.
This is just stick-able wallpaper on MDF, but it adhered really well.
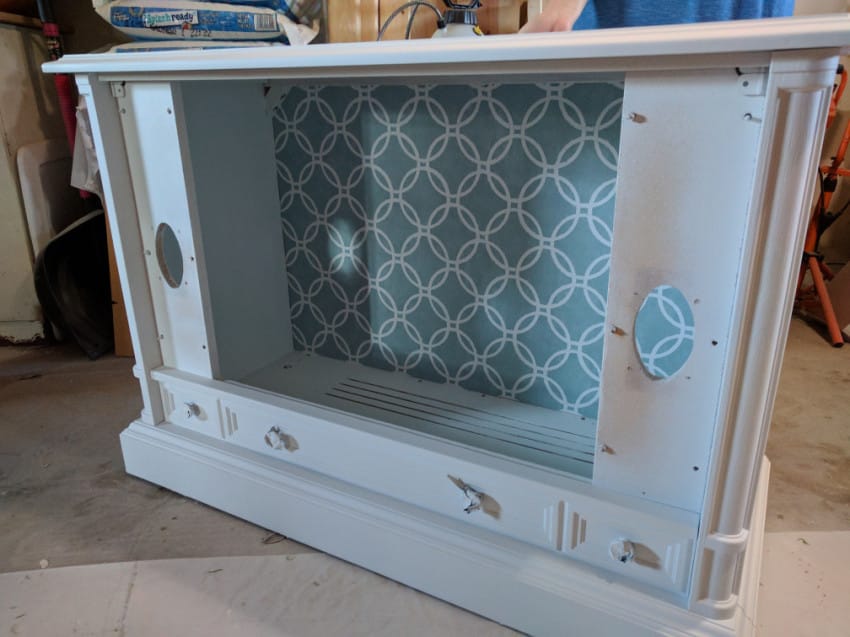
Testing the backboard. The previous back rested on a lip, so this just sat on the back, and we wanted to make sure the fit would work.
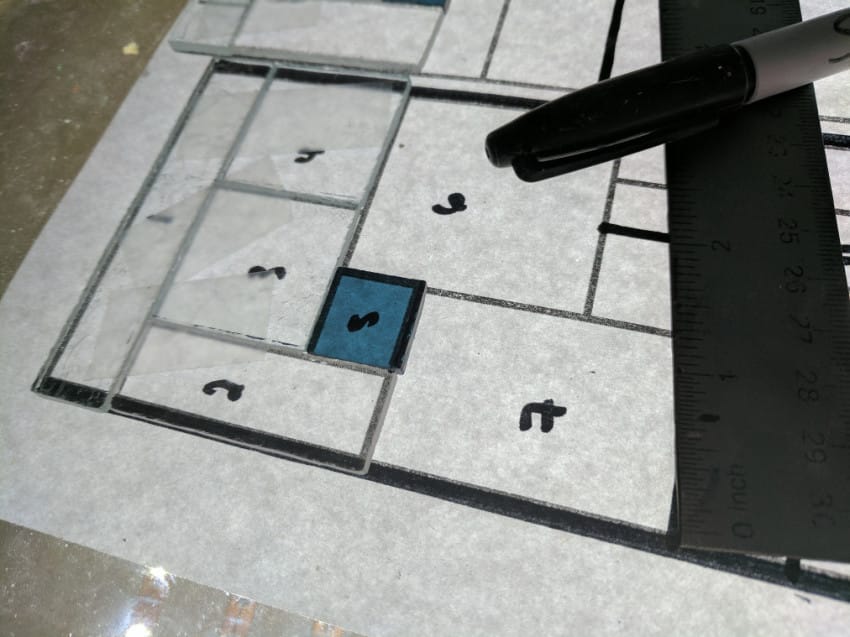
Designing the stained glass, we went through several patterns before we decided on just regular square and rectangle shapes.
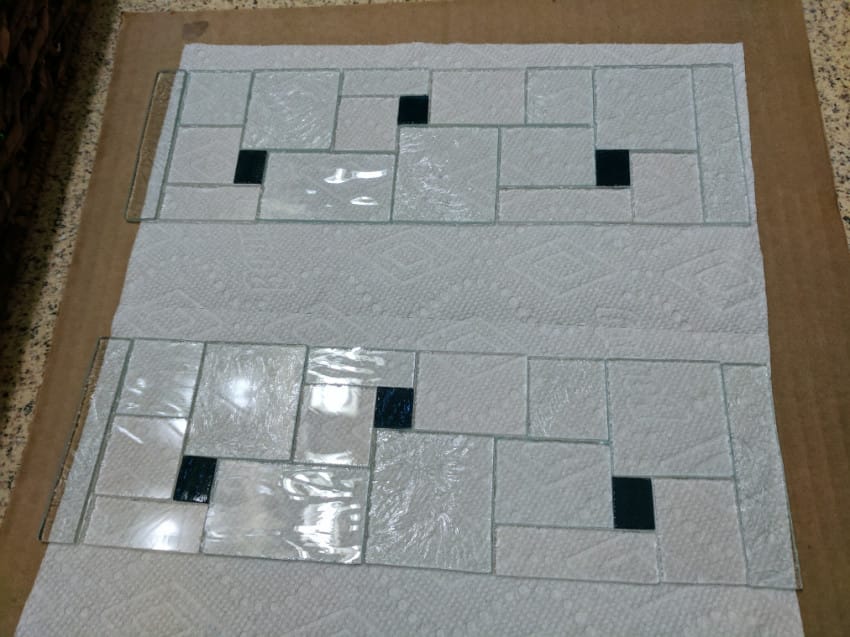
Large, stained glass piece: cut out and fitted.
Like I said, simple geometric shapes were not only an easy option, but allowed for a much more accurate measurement for fitting them to the speaker cutouts on the TV.
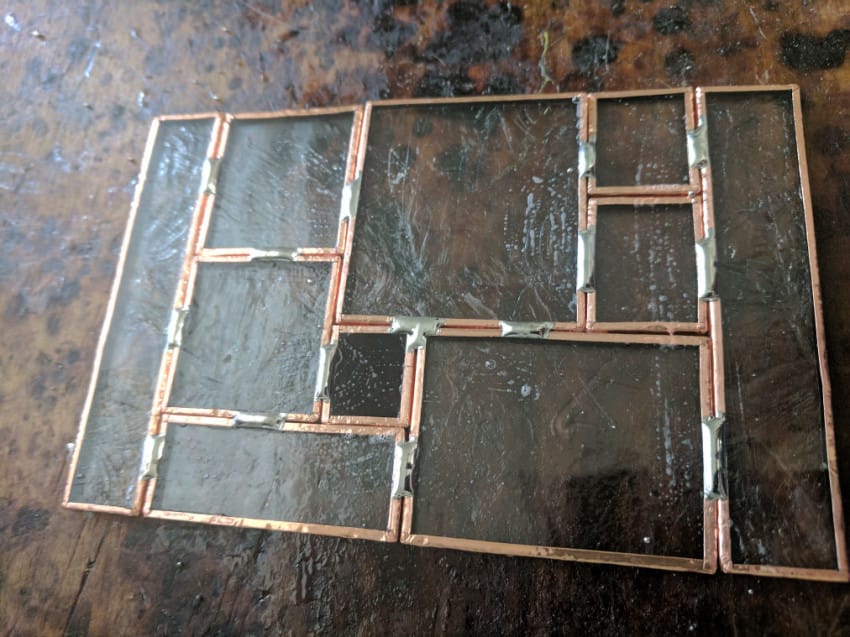
Tacking the small, stained glass piece after it has been foiled.
This was so that the piece could be moved around as a single unit without actually finishing it. This was useful for verifying size.
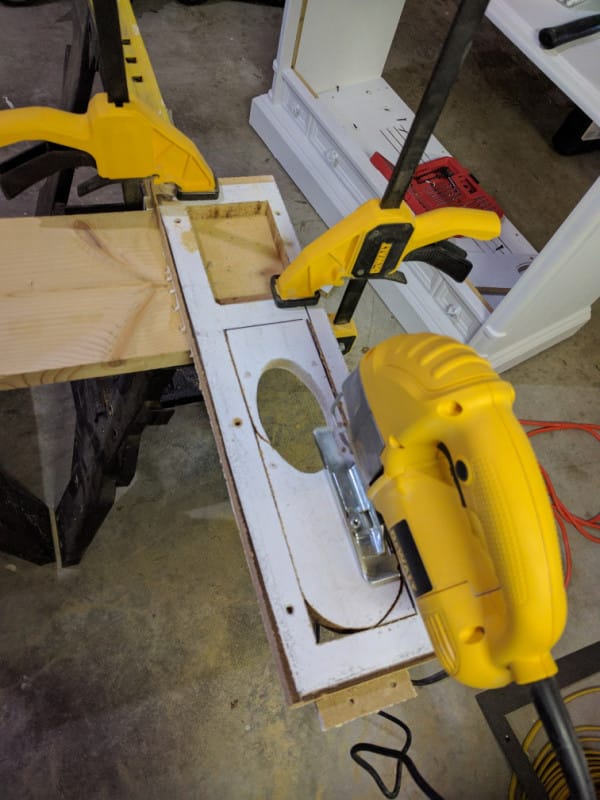
Had to cut out the supports where the speakers used to be, so that the stained glass can be visable [sic] from the inside and light can get through.
A jigsaw made quick work of the particle board.

We glued the stained glass to the plastic frame using E6000 craft glue: Note the ultra-high-tech gluing technique used to apply pressure.

The cushion fits! Unfortunately I do not have any pictures of how it was made, but we purchased cushion materials on Amazon, cut it to size, wrapped it in fabric wrap, then created a slip cover for it so we can wash it.
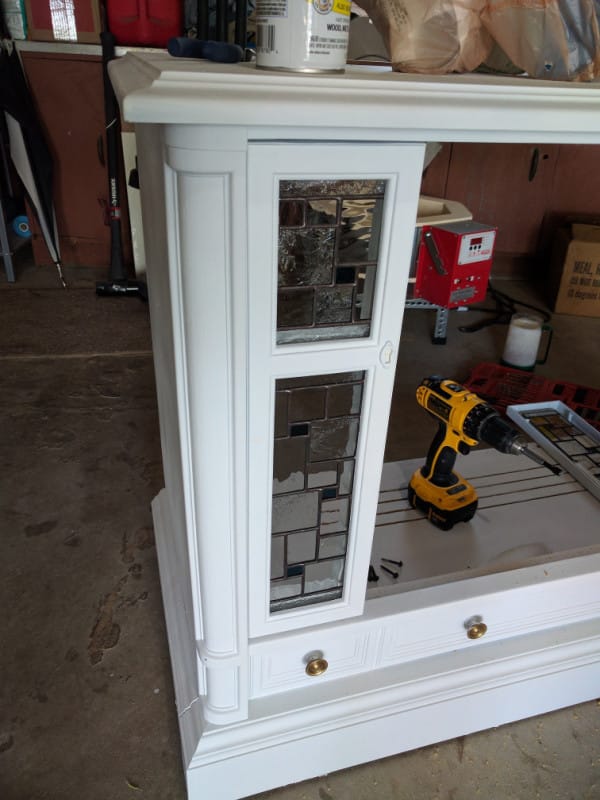
Adding the modified supports back in, these used to hold the speakers, but now will be the windows.
They are screwed into the top and bottom for support. They originally had staples up the side next to the other wood, but they were removed with no marked sway in the support.
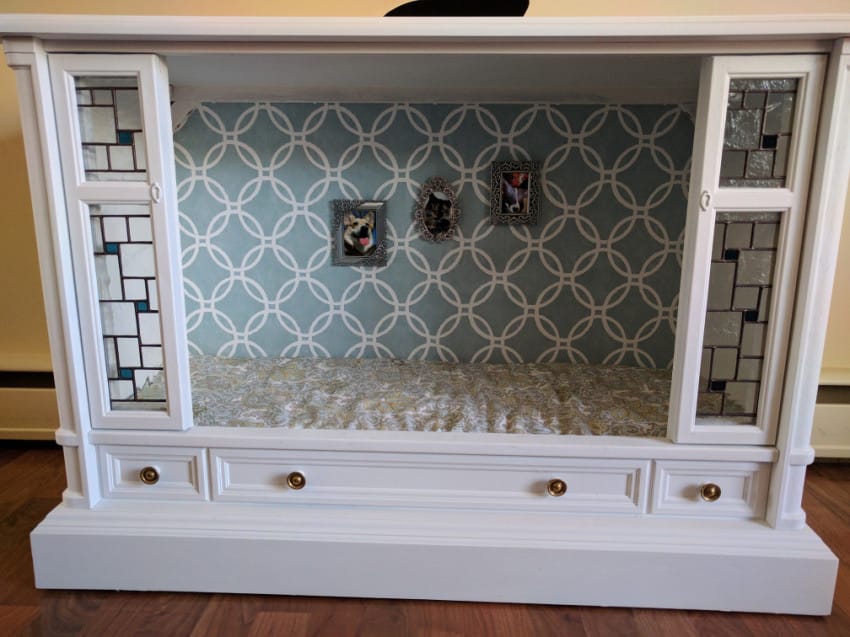
The final product! After installing the stained glass panels, the only thing left to do was add the wallpaper backboard.
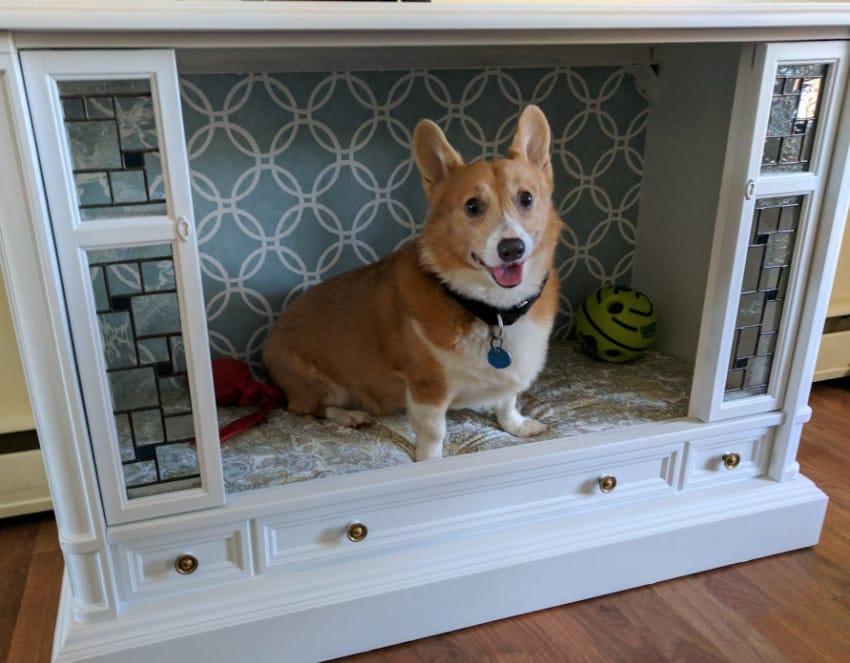
And the doggo seemed to absolutely love it.
Is this something you would do for your pup? Let us know in the comments below!
If you love at-home DIY projects, please Liked Video this article with your friends!