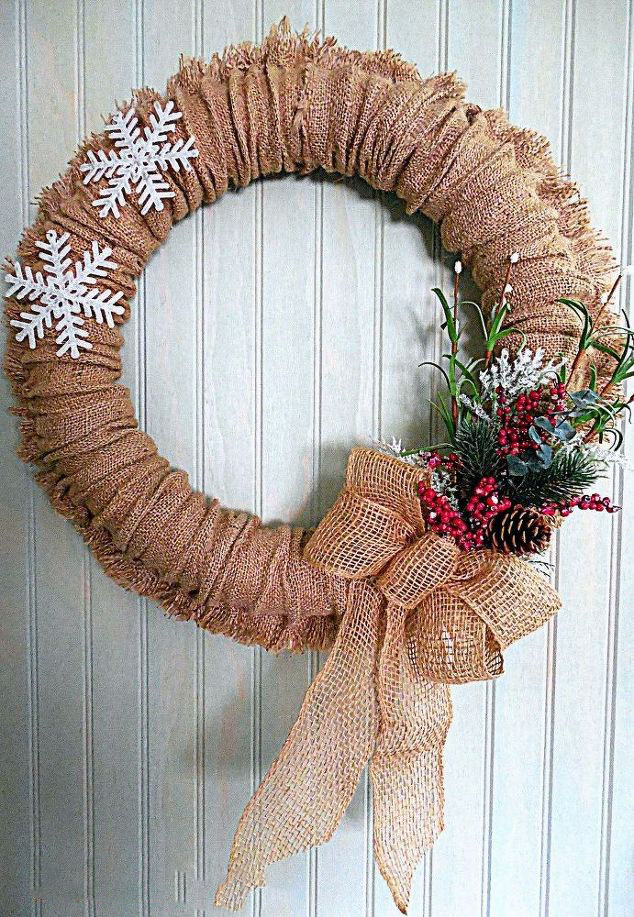
Need a cheap, quick and versatile wreath? This one’s for you all you’ll basically need is a pool noodle, glue gun, burlap and a needle and thread to make a few easy stitches.

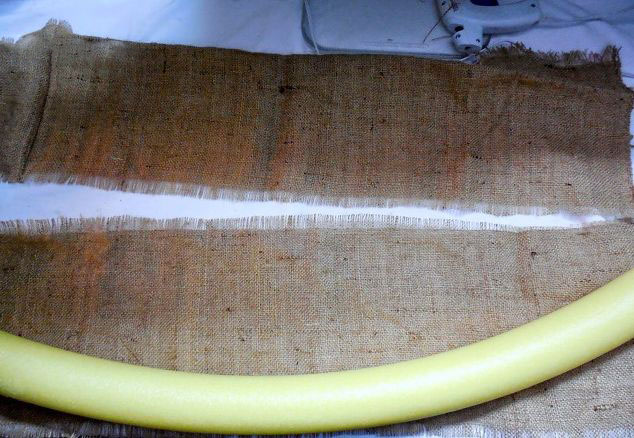
First I measured off the amount of burlap I’d needto cover the noodle and an additional amount for a fringed edge I’d create.
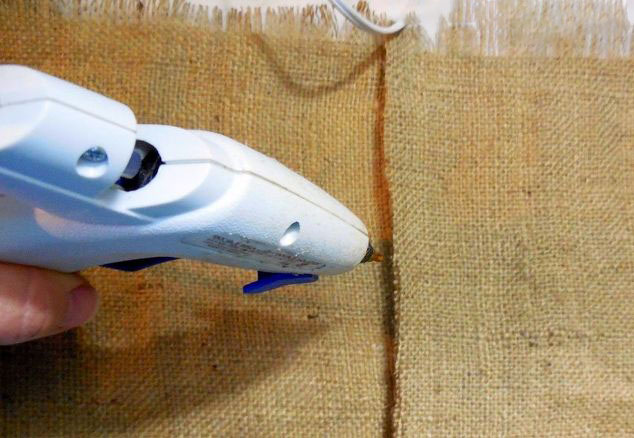
Laying the burlap straps end to end I secured the seams with a glue gun to create one long continuous strip.
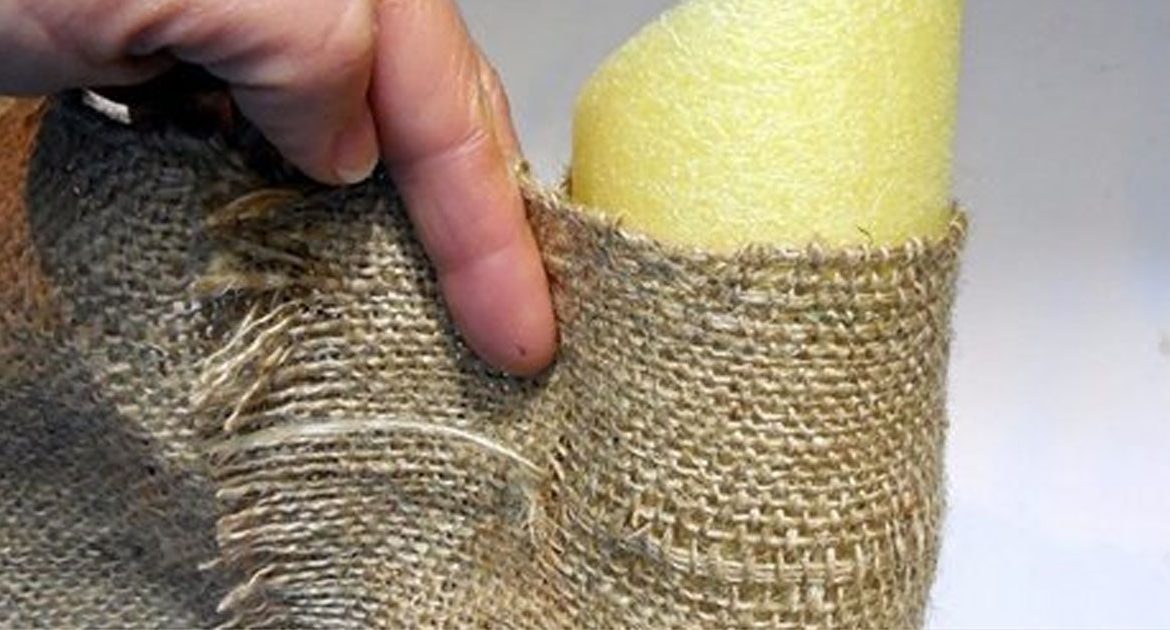
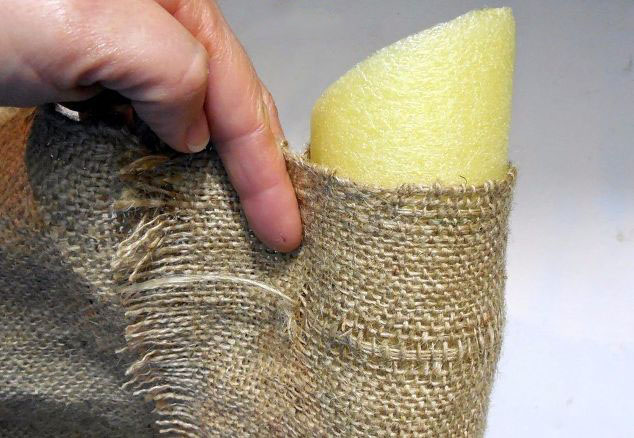
Next I wrapped the burlap around the noodle to get the measurement for the seam I would be sewing to make a tube shape to slide over the noodle.
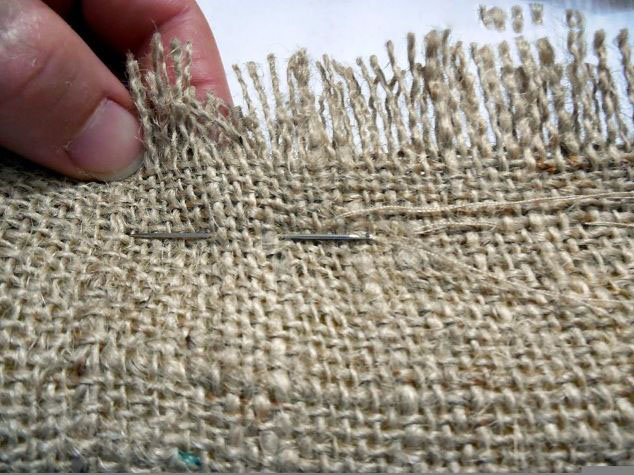
I hand stitched with a simple running stitch the entire length of the burlap strip.
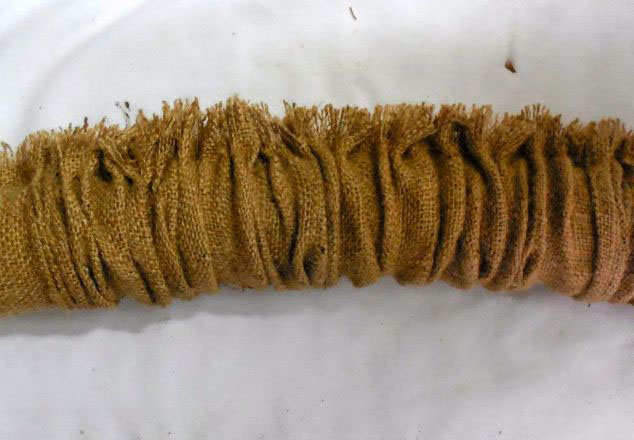
Once the seam was finished I could slide the sewn tube over the noodle and give it a scrunched look.
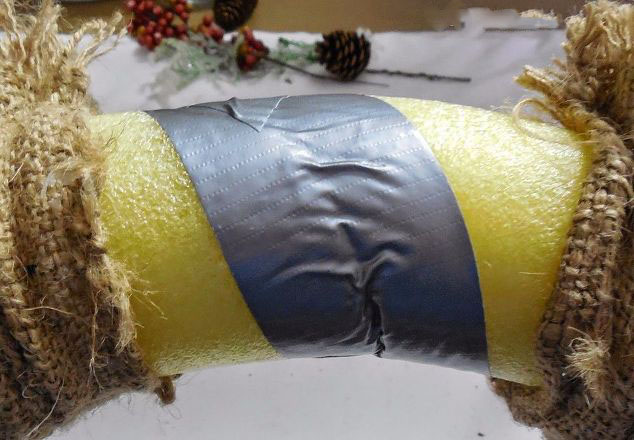
The ends of the pool noodle were cut on an angle for a better fit when joined. I added a twig from outside to the center hole for extra glue surface and secured all pieces with a glue gun.
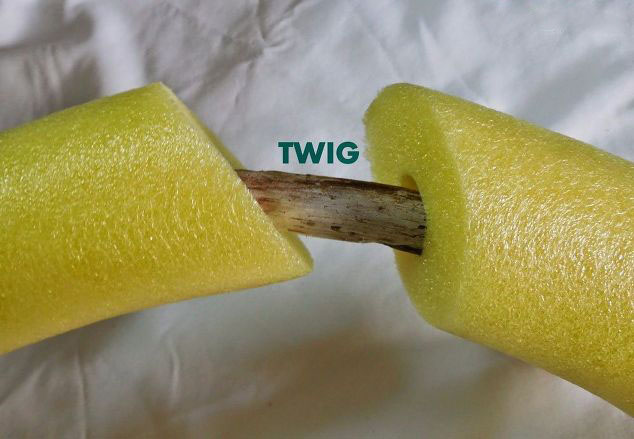
For added strength I even had to seal the ends with duct tape, there was a lot of resistance with the noodle wanting to straighten itself out again!?
I used gardening wire to wrap around and create a hanger for my wreath at the back.

I made a boutiner of sortsome and added a safety pin as a means to swap out for the next season.
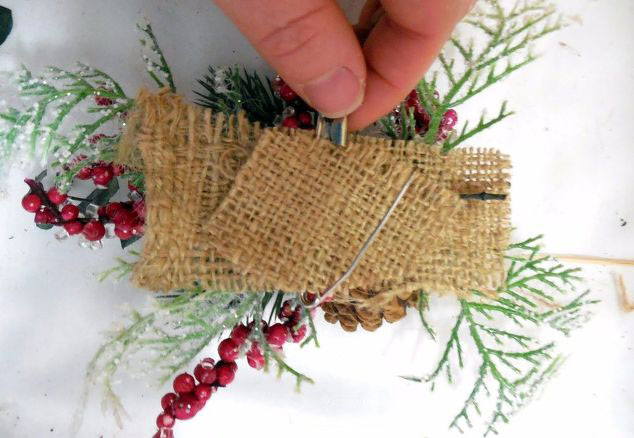
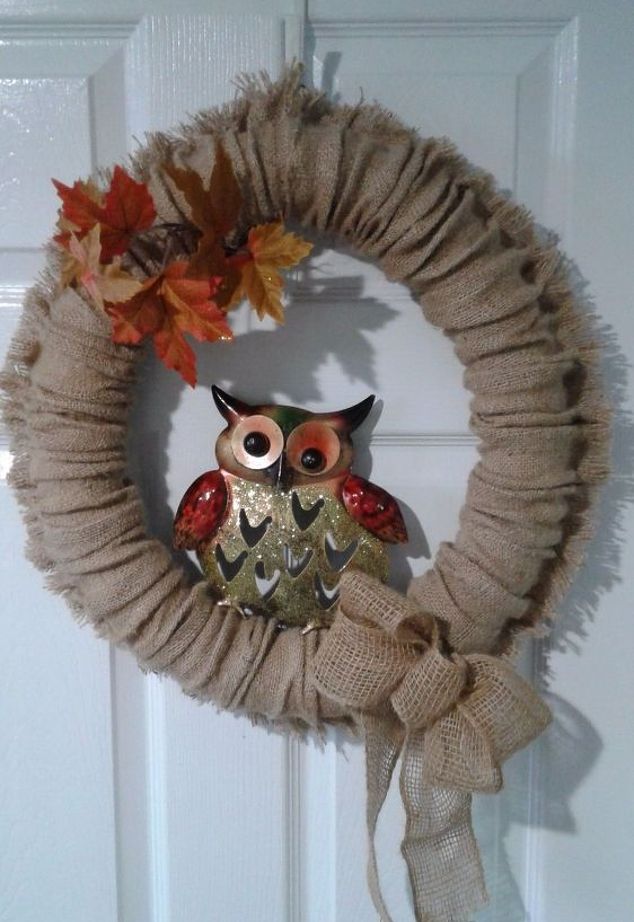
I made a simple burlap bow and glued it as a permanent look to my wreath but the snowflakes are a temporary seasonal accent as is the boutiner.
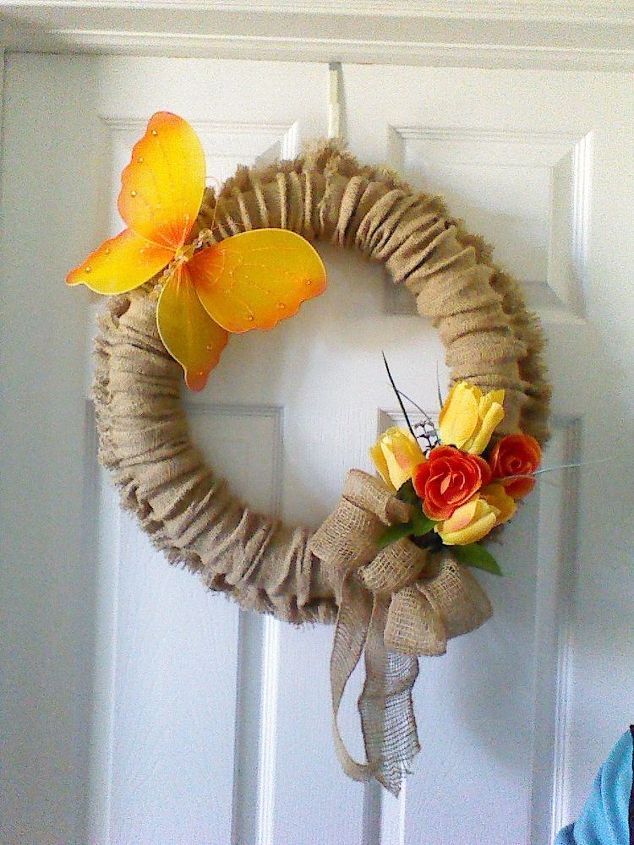
A Summer look was a butterfly accent and a bright tulip boutiner.
Fall? An owl and autumn leaves of course and Spring? I’m thinking….eggs in a nest and tree buds about to burst open. The options are endless…I love the versatility of this Project! Thanks for taking a look!
Materials used for this project:
- Burlap (Fabric store)
- Pool noodle (Dollar Store)
- Wreath Accents (Dollar store)