Amy, the crafty genius behind the DIY blog HerToolBelt, has done it again: she’s created a truly stunning garden box out of old pallets!
With spring here and summer right around the corner, gardeners everywhere are going to want to take note of this clever and truly gorgeous outdoors project.
Essentially, you just take ordinary wooden pallets (which can often be found for free outside grocery stores) and turn them into a simple and lovely place to display your favorite flowers.
Like this easy-peasy DIY compost bucket, the pallet garden box is a fairly simple project for experienced DIY-ers.
As long as you have a few power tools and some basic construction know-how, you should be able to put together this garden feature in one sunny weekend.
Once it’s done, you’ll be able to enjoy the benefits all summer long!
Scroll through below to learn more about this project, and how to put it together yourself.
First, you’ll need to collect a few pallets, which can often be found for free outside grocery stores.
Cut down pallet slats and nail them together into a box shape. You can choose any dimensions you like, depending on the layout of your garden.
You also want to make sure your box is up on legs, or otherwise elevated off the ground to allow the plants to drain.
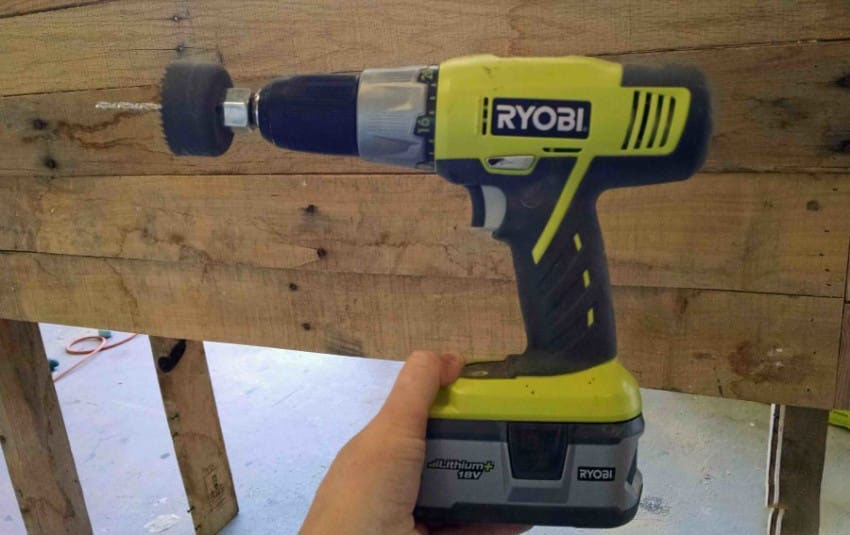
Once that’s done, you’re ready to start drilling!
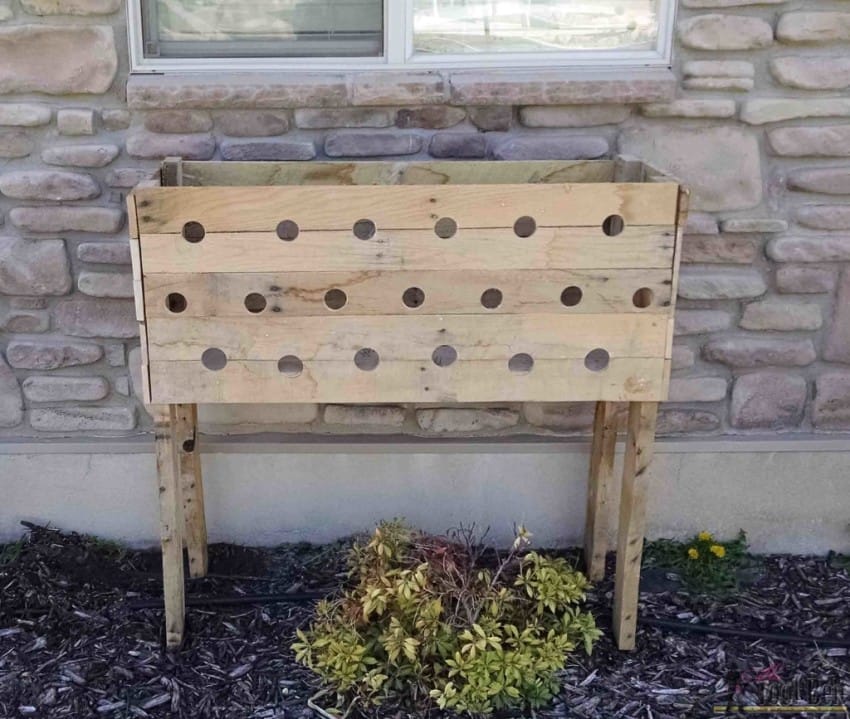
Use a drill to cut a number of evenly spaced holes into the sides of your wooden box. You want holes to be about 2 inches in diameter.
Amy from HerToolBelt drilled 19 equal holes in the front of the box and added five similar holes on each side.
There are no holes on the back, which will face the wall and get less sun.
The holes seem to give the box a “Swiss cheese” effect, but they’ll be filled once the plants are added!
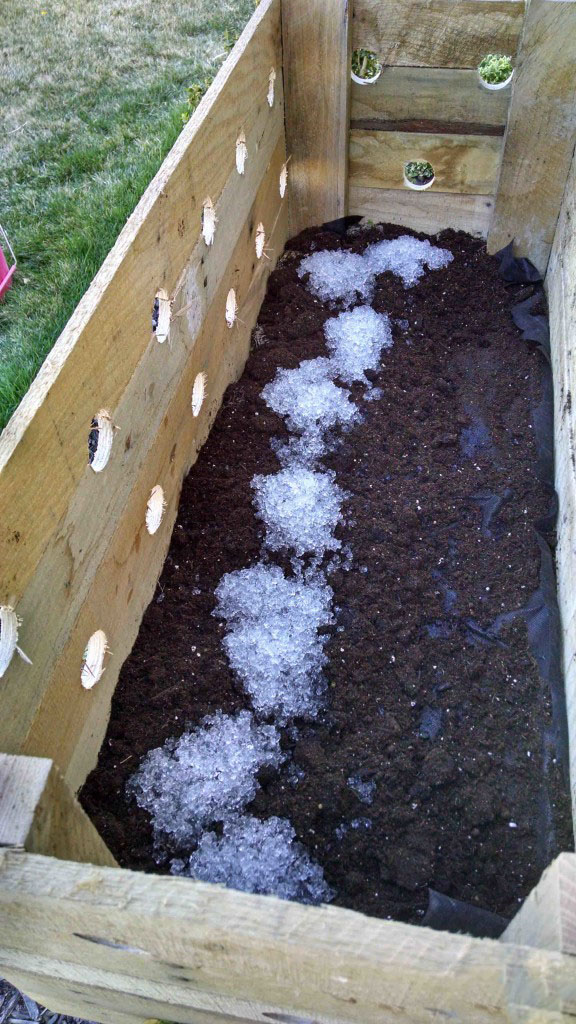
Next, she filled up the garden box with plenty of high-quality potting soil.
Plants that are being transplanted need lots of good soil to help them thrive in their new environment.
Amy also layered in lots of Soil Moist crystals. These crystals help fight dry weather by keeping the soil from losing moisture.
They’re great for plants that grow fast, or for helping to conserve water during the dry summer months.
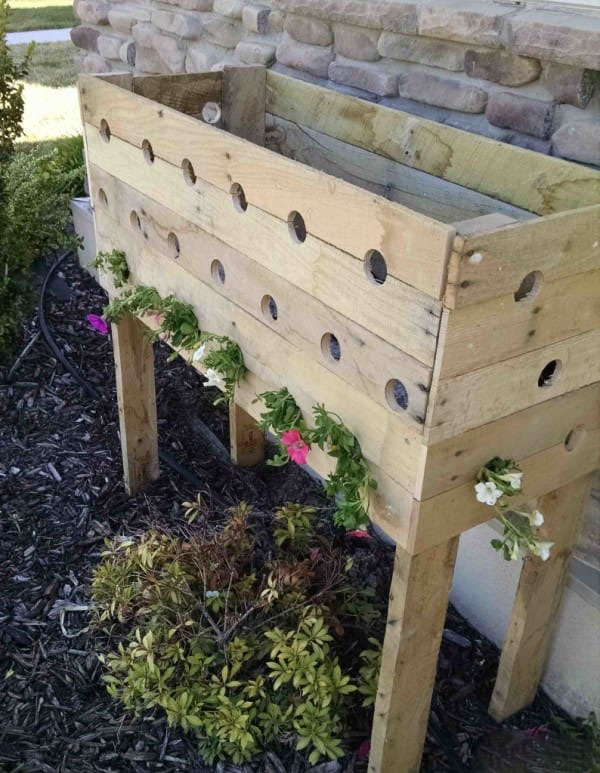
Amy decided to fill her box with petunias in a range of colors. Here’s how you go about planting them:
First, loosen the petunias (or whichever flowers you select) from their individual planters.
Loosen the soil bulb at the root, and thread root through the hole on the bottom. Plant securely in the soil inside the box.
Repeat this process for every hole in the bottom row of the planter.
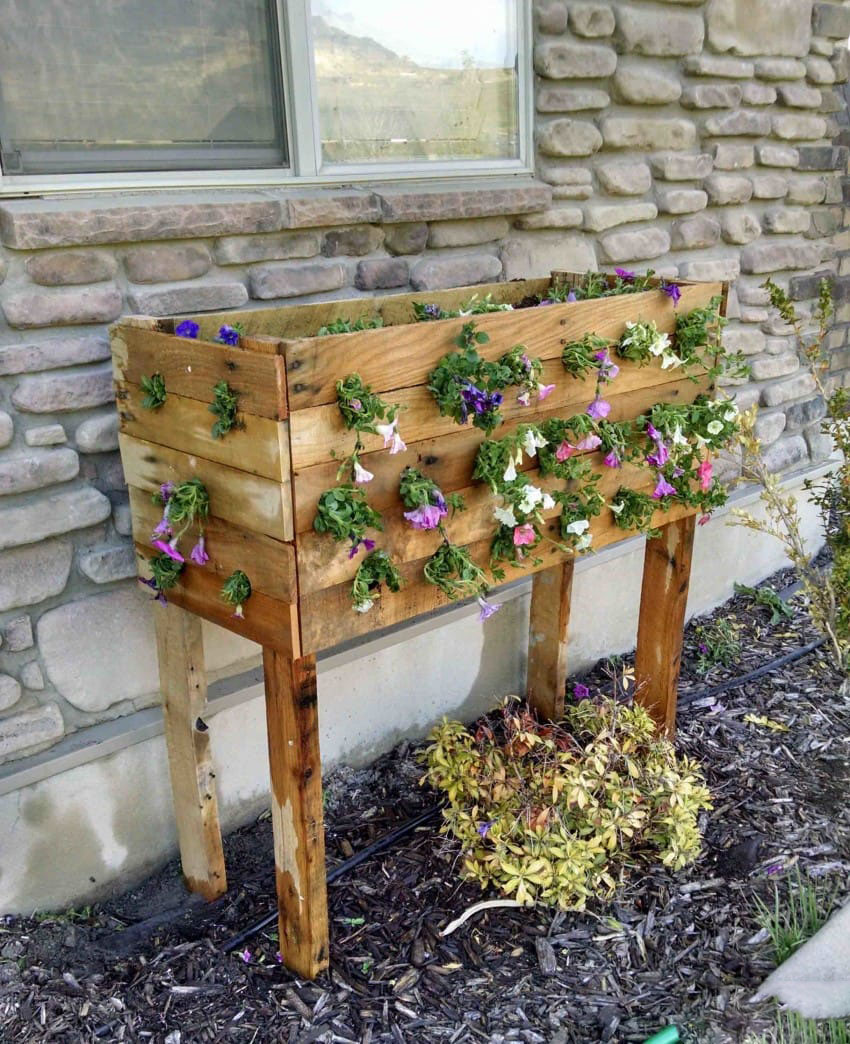
After you finish planting the entire bottom row, add another layer of soil on top of everything, followed by another dash of moist soil.
Plant the second row the same way as the first, anchoring the plants in the new layer of soil from the outside in.
Add more soil, and repeat the process with the third row of plants. Once that row is complete, top with a final layer of soil.
Then, in the top layer of soil, plant additional flowers.
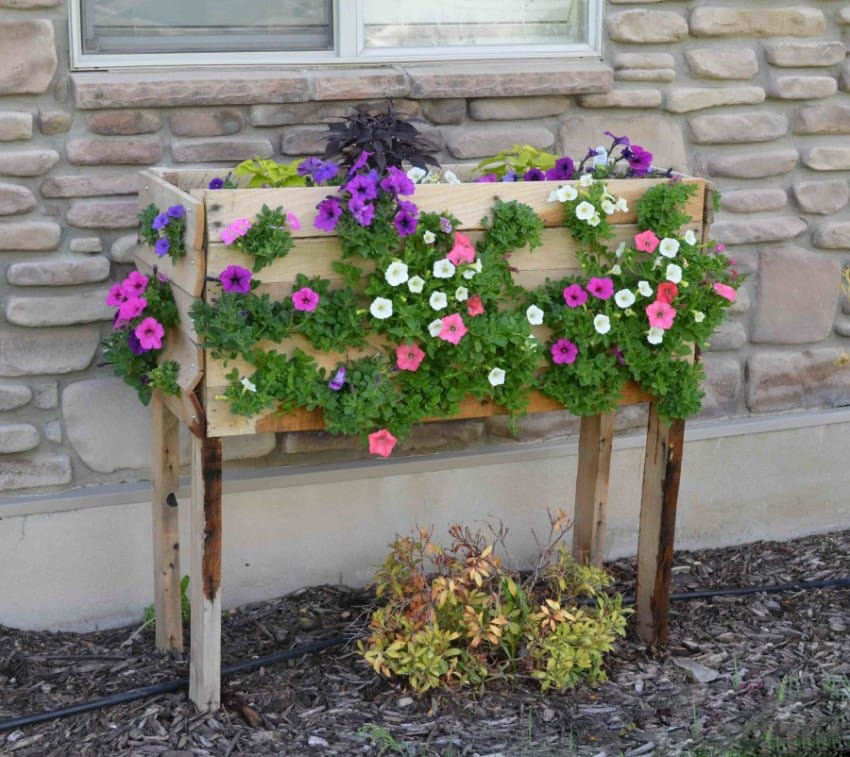
At first, your new plants will look pretty sad and traumatized from the transplanting. However, they should perk up with plenty of TLC.
After you first plant them, be sure to give them a healthy helping of water until it starts to drop from the bottom row of holes.
Water them every day, especially if you live in a dry area. Petunias get very thirsty
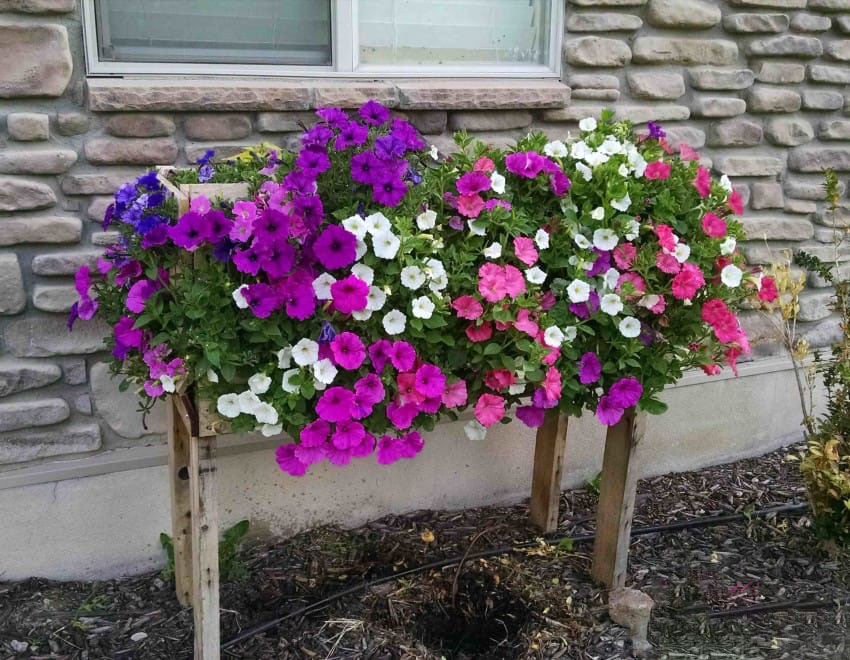
As the weather gets warmer and warmer, your flowers will get bigger and brighter!
Make sure to give them extra water in the heat of the summer. Also, protect them from insects that might want to chomp on those bright and tasty-looking flowers.
If you don’t want to use petunias, you could also try something like impatiens, begonias, or geraniums. Just keep in mind that all these different plants will require slightly different levels of care.
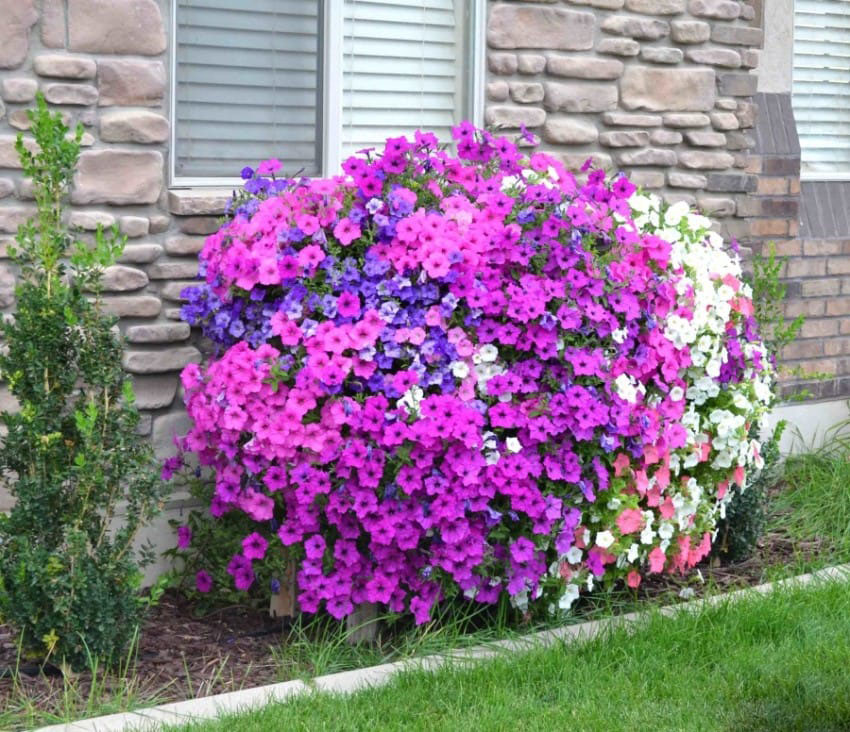
By the end of the summer, Amy from HerToolBelt didn’t just have a pretty planter, she had a rollicking riot of vibrant colors!
Her petunias were so happy in their sunny home that they went totally crazy, growing over the whole planter and obscuring it from sight. That’s definitely the sign of a happy garden!
If you love this adorable garden-box idea, be sure to check out HerToolBelt for more awesome tips, and SHARE with any friends with a green thumb of their own!


