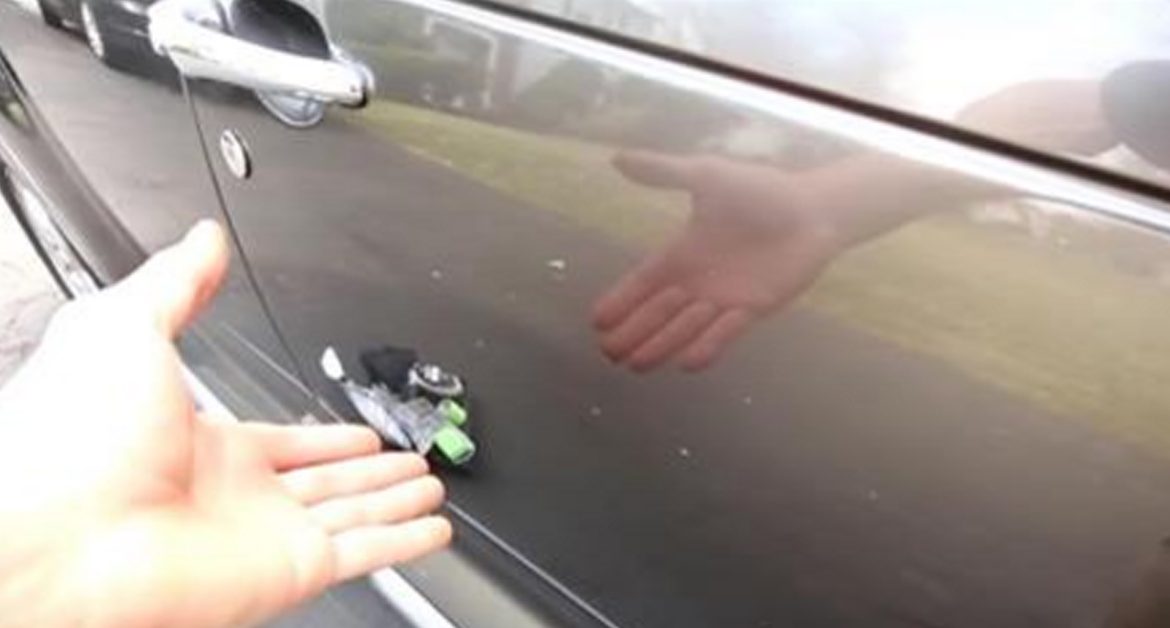
Scratches on your car are an inevitable fact of life. No matter how hard we try to keep our cars looking like new, they always end up with a few dents and marks at some point. It’s frustrating and often makes us want to take them in for new paint job, but who can afford that? The good news is that there are is actually a simple way to get rid of some of those scratches without draining your bank account…
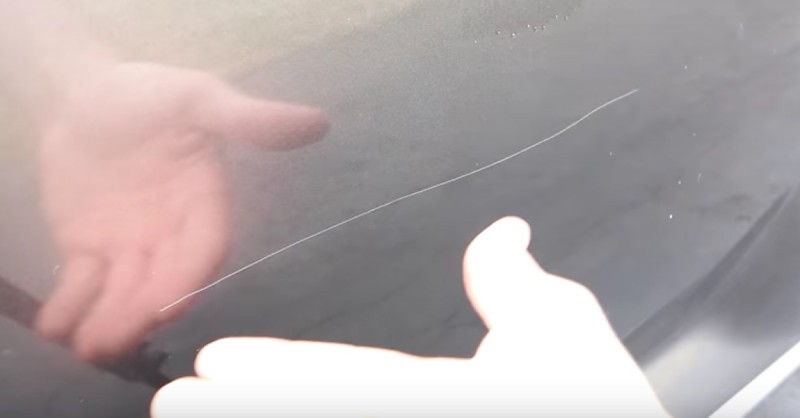
This is how you can fix a scratch in the clear coat using some things that you may already have around the house.
You’ll need:
- soap
- warm water
- microfiber cloth with the label removed
- masking tape
- 3,000 grit sandpaper
- 5,000 grit sandpaper
- sponge
- car polish
- car wax paste
Here’s how:
1. Clean and identify the scratch
Spray the soapy water on the scratched surface and wipe with the cloth. This will remove any dirt or grit and help you find out if the scratch is only in the clear coat. If the scratch seems to disappear when you spray it with soapy water, that means it’s only a clear coat scratch.
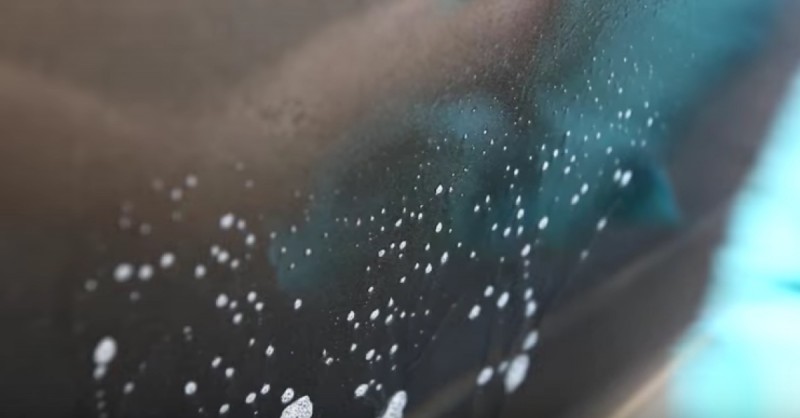
Tip: Be sure to remove any labels from the cloth. These can often be made of rigid material that could cause more scratching.
2. Mark the area
Now put on some masking tap above and below the scratch, about 1/2 inch from it. The scratch will get harder to see during the repair process and this will let you know where it is.
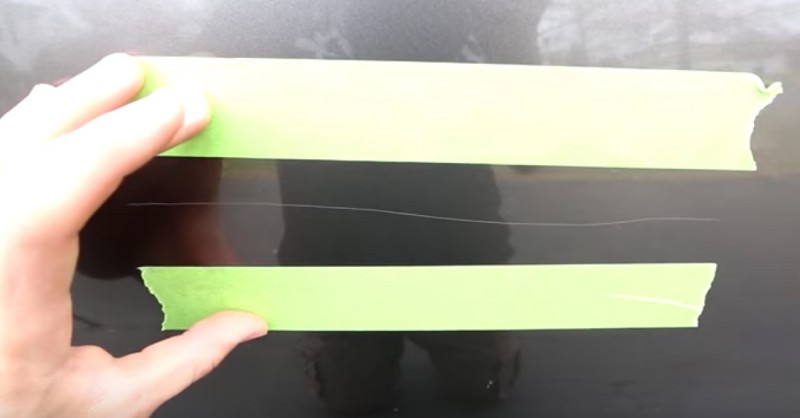
Tip: Cut the tape to the same length as the scratch so you’ll know exactly where it ends.
3. Sand the scratch
Now check how deep the scratch is. If it grips your fingernail, use the 3,000 grit sandpaper. If the scratch is shallower, the 5,000 grit sandpaper is enough.
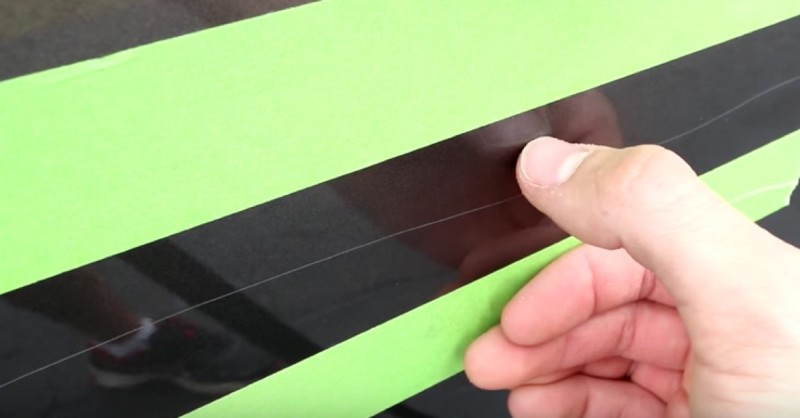
Spray the soapy water on the scratch and the sandpaper. Roll the sandpaper around the sponge.
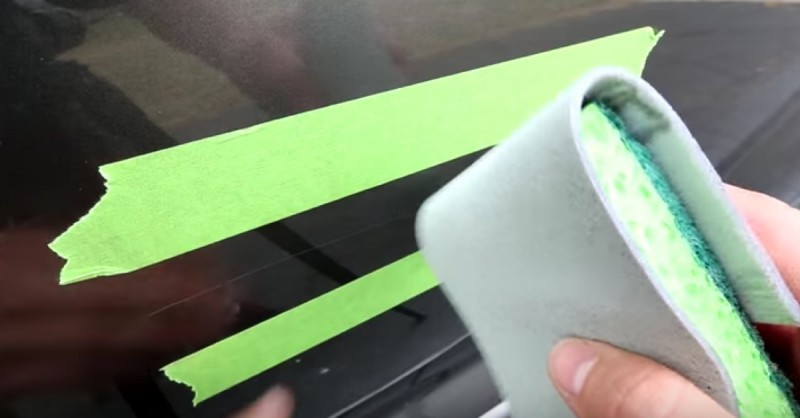
The sponge evens out the pressure while sanding. Be sure not to press too hard.
Start to sand from the bottom to the top. Clear coat layers are relatively thick, but about 15 seconds of sanding should be enough.
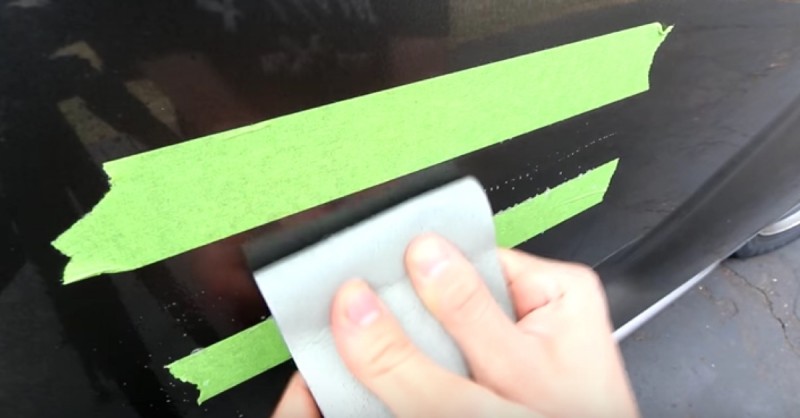
Now wipe with the cloth to see if the scratch is gone. If it’s not, repeat the process until it becomes almost invisible.
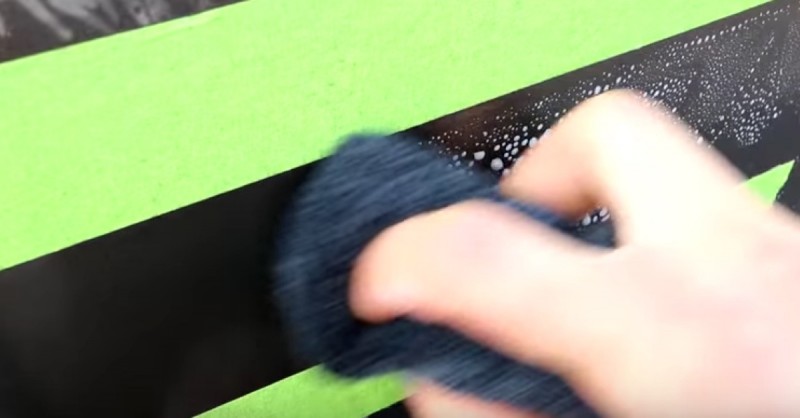
At this point you can remove the sandpaper from the sponge and continue sanding lightly.
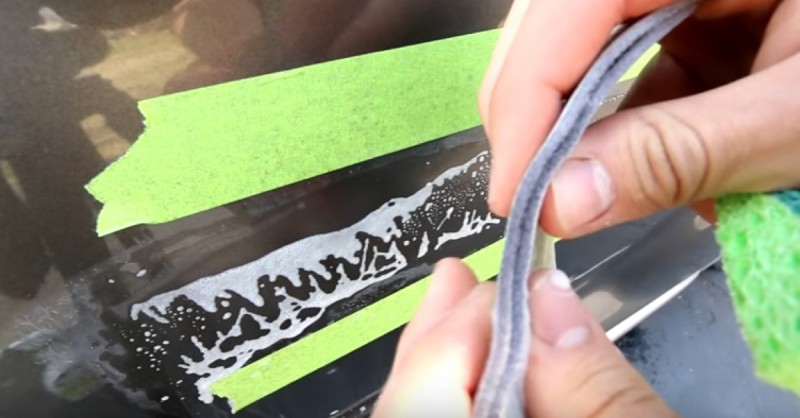
Focus on the deepest part of the scratch if necessary.
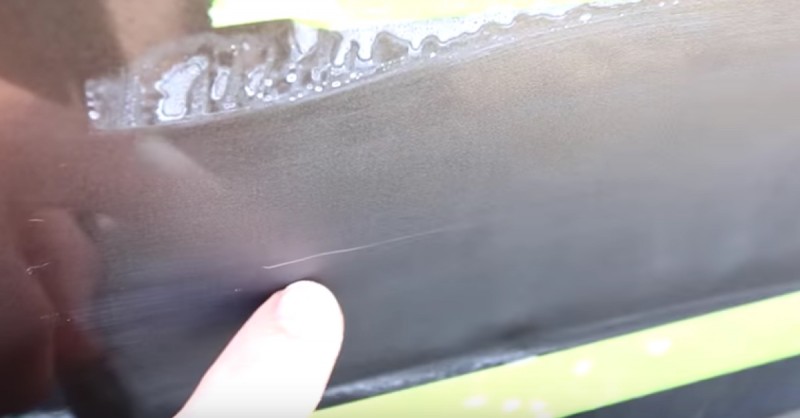
When the scratch is almost gone, you might notice that the area looks very hazy. Don’t worry! Simply move the tape another inch or two away from the scratch.
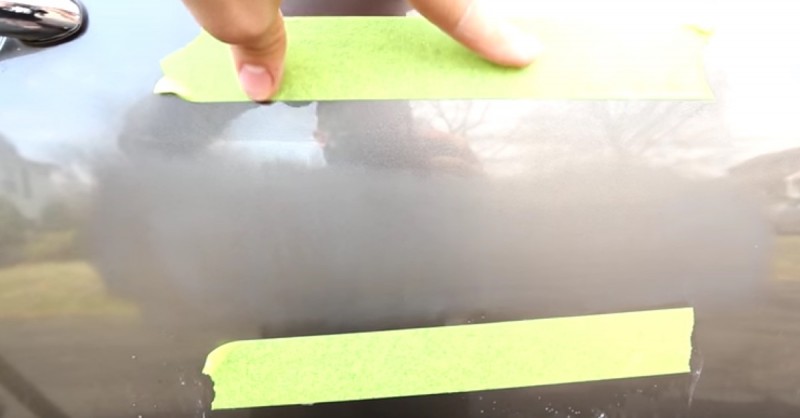
Using the 5,000 grit sandpaper, sand the area very softly and feather out the edges of this hazy area.
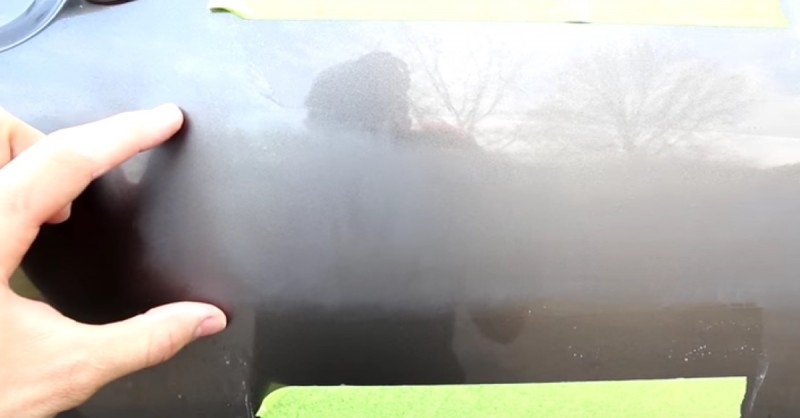
Spray the area and sandpaper with soapy water again. Continue sanding with a circular motion to get rid of all the visible edges.
Tip: Don’t get carried away with the feathering or you’ll soon find yourself sanding the whole car!
Continue to spray the area and wipe it away until the scratch is gone.
4. Polish the area
The scratch is gone but the area no longer has a glossy finish. This is totally normal and can easily be fixed by rubbing on some car polish.
Tip: You’ll need a special kind of polish that is made to remove scratches and marks. Check the package to make sure you have the right kind.
Spray the area again and wipe it dry. Now pour some polish on a cloth.
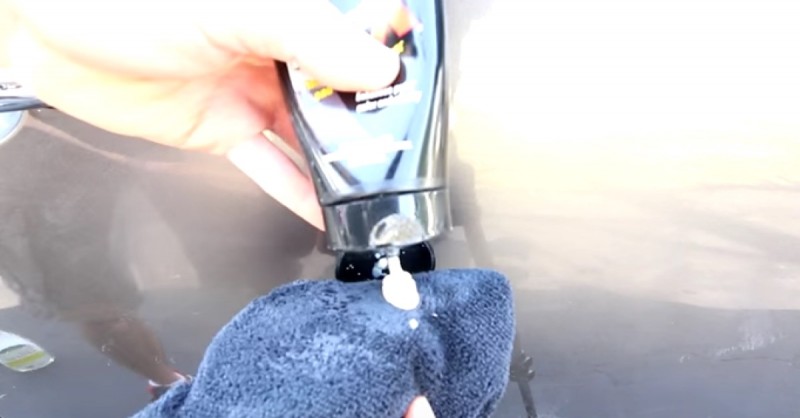
Apply the polish using a circular motion and medium pressure (more than when you sanded). Gradually cover the whole area and go a bit outside the hazy area to achieve a uniform appearance. Continue this process until the haze is almost gone and when you’re done, wipe the area down with a dry cloth to remove any excess polish.
5. Wax the area
The final step is to recreate the clear coat layer using car wax.
Apply the wax paste with a circular motion. Let it dry for one minute and then wipe down the area with a clean, dry cloth.
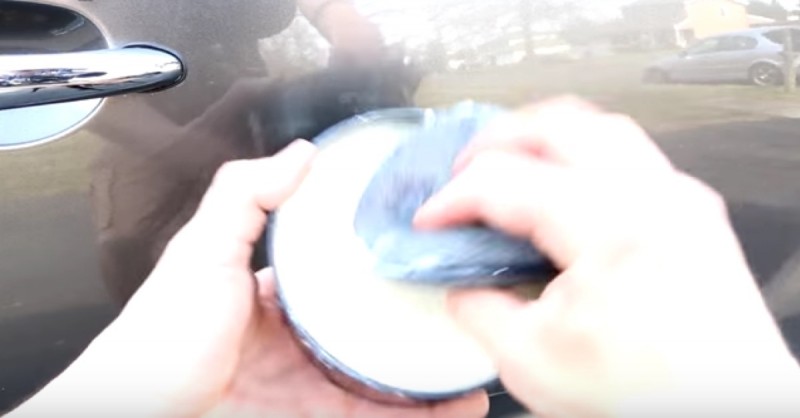
And you’re done! The scratch is gone and and your car should look almost as good as new.
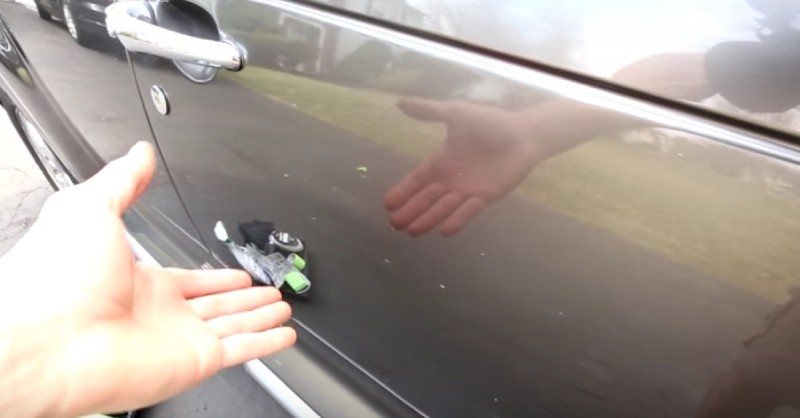
You can see all the steps again in this video:
It’s hard to believe that getting rid of those awful-looking scratches only requires a few affordable items and a bit of elbow grease. This trick won’t be much help when you’re dealing with a deep scratch that is actually in the paint layer, but those kinds of scratches are less common and best dealt with by a professional. After all, we just want to save some money, not put our local body shop out of business!
