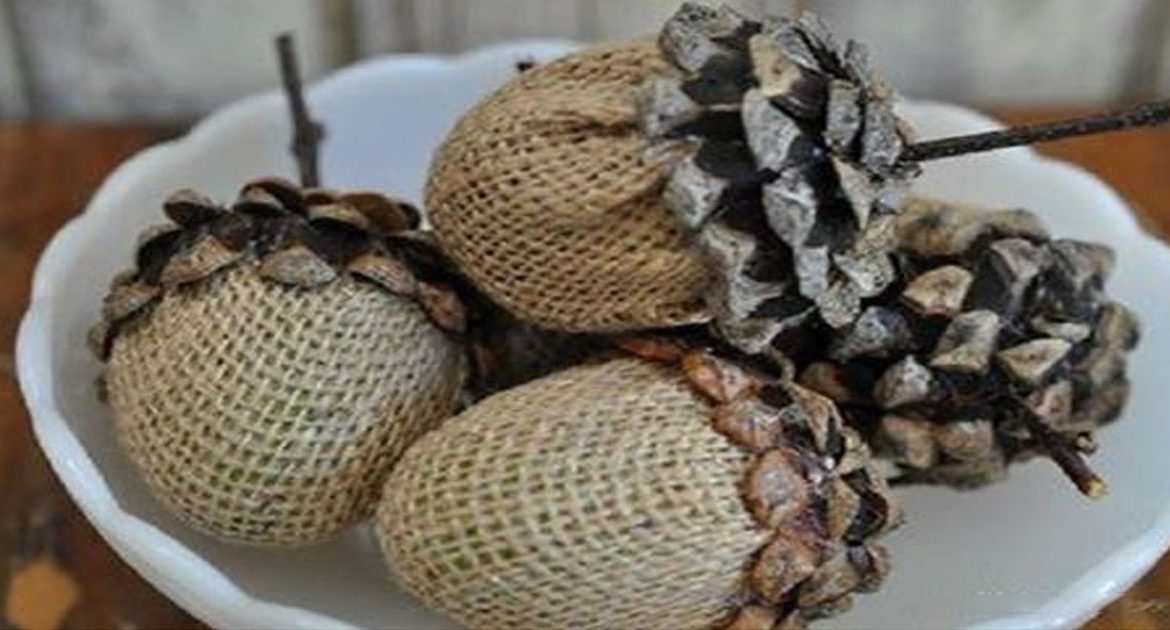
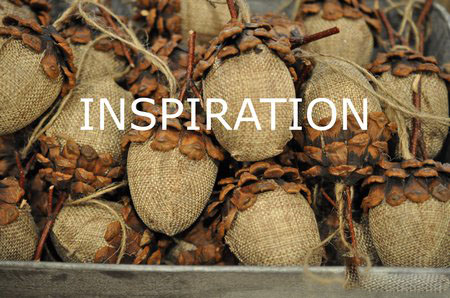
I saw these sweet little acorns at one of my favourite gift shops a few weeks ago, and they inspired me to make my own. You know that moment when you pick them up in the store and really look at them and think, with a twinkle in your eye, I could make these. ?
Supplies:
- Plastic Easter Eggs
- Brown Craft Paint
- Burlap
- Pinecones
- Hot Glue
- Twig
How To Make Acorns:
To create the shape of the acorn I decided to use Easter eggs. My kids thought it was pretty funny that I was yanking out the Easter egg box in the middle of fall decorating.
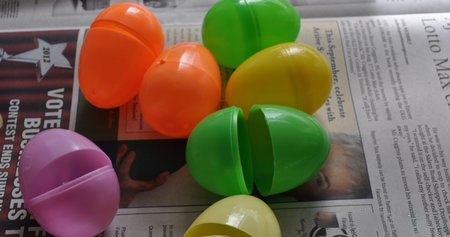
Since some of them were bright colours I used a little sandpaper to rough up their smooth surface, and painted with two coats of brown craft paint.

The green ones were fine without paint, and I think yellow would have been fine too.
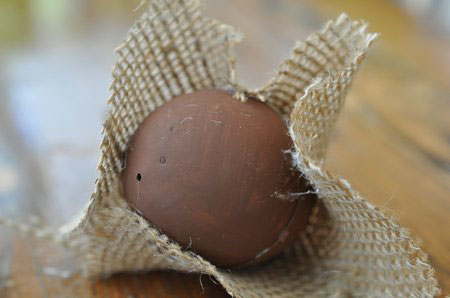
After the paint dried, I added the layer of fabric to create the bottom section of the acorn. I started out with a very open weave burlap, but it didn’t work well for this craft. So then I picked up some craft burlap and tried again. At the beginning, I started out trying to glue two panels of fabric to the base, like the inspiration acorn, with white craft glue. I found it dried really hard, and the frayed ends stuck up. I ended up hot gluing a circle of burlap around the egg. This worked the best for me.

Next was gluing on the pine cone pieces to create the top of the acorn. I snipped them off with some heavy scissors. Then, just hot glued them around the top.
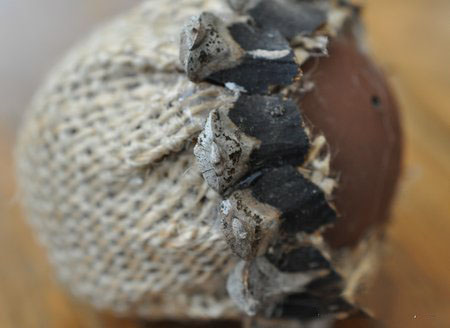
I did about three layers, and finished them off with a little twig stem.
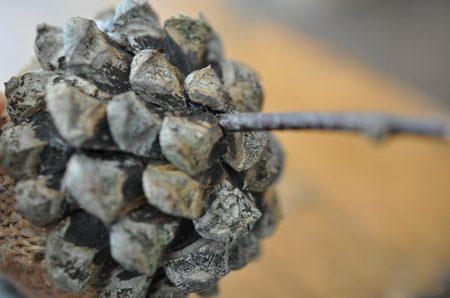
They were a bit fiddly, and I may or may not have thought a couple times “why didn’t I just buy these”.

But once I got the hang of it, they weren’t too bad, and would be a good while you watch t.v. craft. And, they are so cute. I made five, and grouped mine in a little bowl.


Hoping your fall season includes some pretty acorns, and that your day has at least a little party in it. Happy Friday!
Want more great fall project inspiration, check out 20 Fall Projects!
