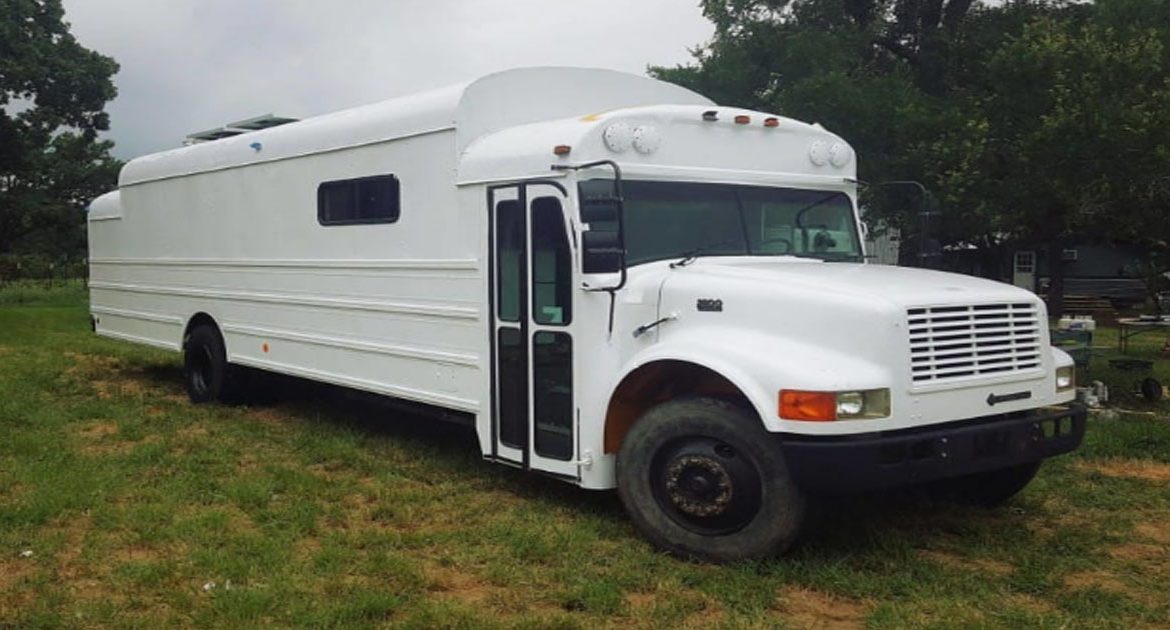
Here at LittleThings, we love tiny houses.
Some of our very favorites have been built out of remodeled school buses, like this bright blue one!
We’ve seen a variety of school bus tiny homes, ranging from ones purchased by young couples searching for a freewheeling lifestyle, to more grown-up versions renovated to house five-person families.
It seems like living in a school bus would be too cramped, but once you look at the insides of these buses, it’s obvious they’re not only cozy and comfortable, but also spacious (and bigger than most New York City apartments, honestly).
One man who had been considering building a tiny home for a while decided that instead of doing a traditional tiny house or RV, he’d convert an old school bus into a creative home.
He’d never built anything before, but that didn’t stop him from throwing himself into the project and completely transforming the school bus. You have to see what it looks like now — it’s unrecognizable!
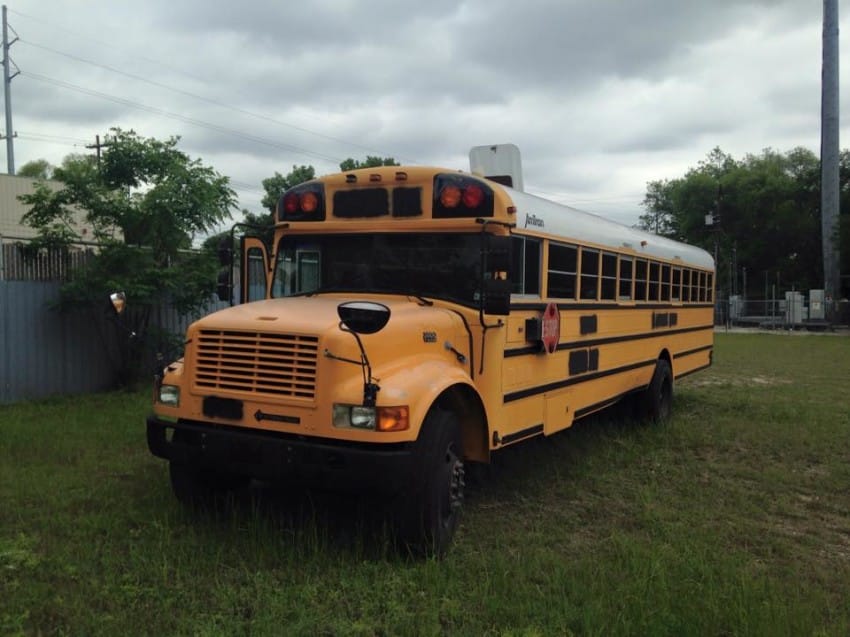
He posted the transformation pictures to Imgur, where he wrote:
I have never built anything. Ever. I’ve helped paint a few houses on mission trips and I helped install some plastic lattice once, but that’s about it.
My background is in graphic design and illustration. I always wanted to build a tiny house and I always wanted to travel. So I spent years playing around with tiny house designs in my spare time.
Ultimately I decided upon a school bus because I thought “Hey, there’s already for [sic] walls and a roof. Throw some wood and some light bulbs in there and call it a day.” How foolish of me. I ended up doing a complete build on the back of the bus.
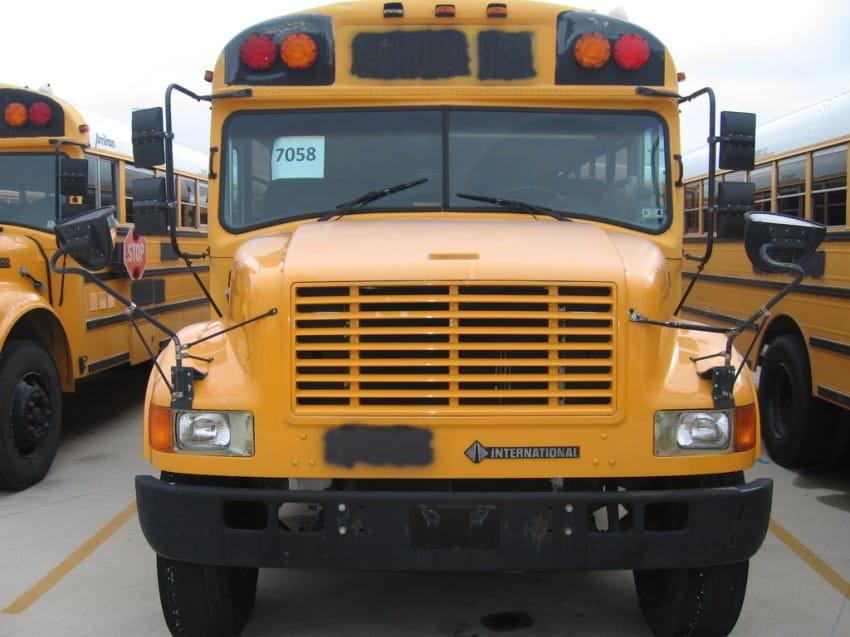
I purchased the bus from the Austin Independent School District for a cool $2,200 off PublicSurplus.com.
They had recently switched to this auction site to do a test run of 10 buses to see if they like it. Fortunately for me, not many people knew they were doing this, so I made out like a bandit.
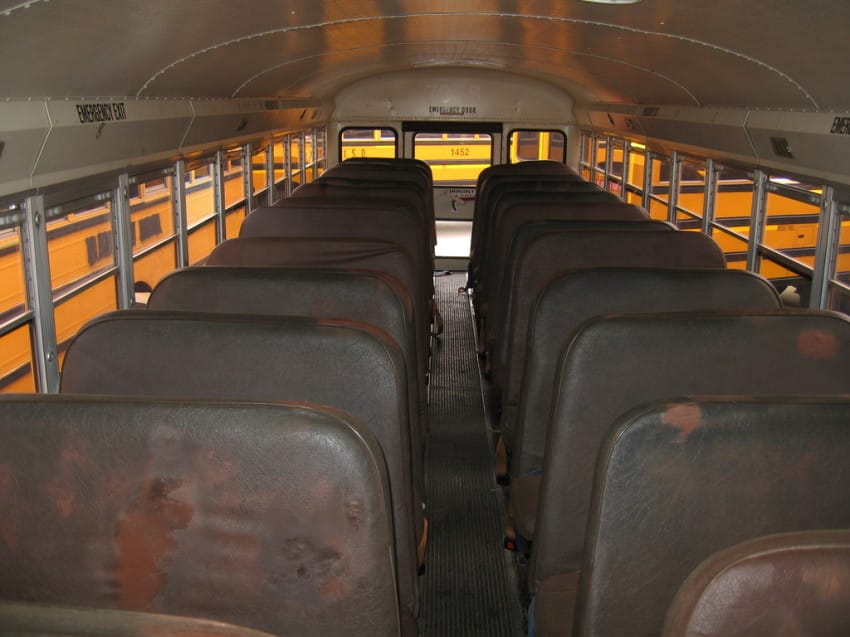
As soon as I stepped onto the bus for the first time I knew me being 6’6″ was going to be a huge problem.
The ceilings as is were only 6’1, so I was going to have to do some MAJOR work to get this think comfortable for my abnormally large person.

This is my “final” design for the bus. I like to entertain so I put all the public areas towards the front and all the private areas in the back. If having people over outside to grill or chill, the two most common areas they would need to access would be the kitchen and the bathroom…
I love movies. Film and television are my favorite things, so I wanted a great movie watching room. I like to have people over to watch things so I knew I needed a sizable living room. I’m also a designer, so I needed a great work station.
The bed can just barely squeeze in a queen, and is elevated above a crazy spacious storage area. All in all this will be a bigger kitchen than the apartment I currently lived in, the largest entertainment center I have ever owned, the largest desk I’ve ever had, and the same couch I’d had the past couple years. Really I wasn’t sacrificing much space wise.
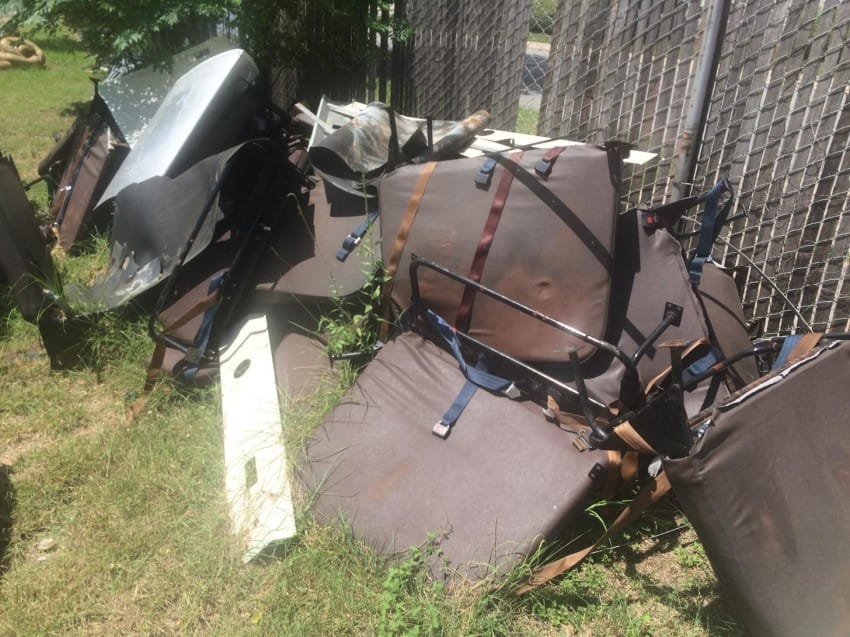
A nice man came with his 7 months pregnant wife and 8 year old daughter to cart away all these seats to the scrap metal yard. I was super impressed his wife was lifting these heavy seats into the trailer!
Not pictured: The grueling process that was removing all those seats. Props to my step dad for crawling under the bus and helping me remove every single bolt. If I did this again I would have used an angle grinder, but this was still only days into the build and I was terrified of power tools.
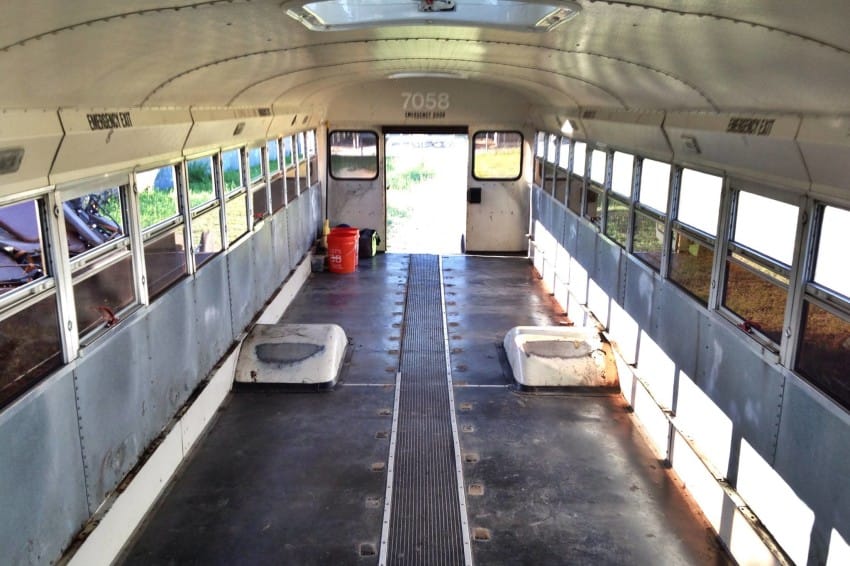
So far so good. Nearly no rust at all!
Once all the seats were removed, he took out the old insulation and pulled up the old rubber floors.
kick me school bus
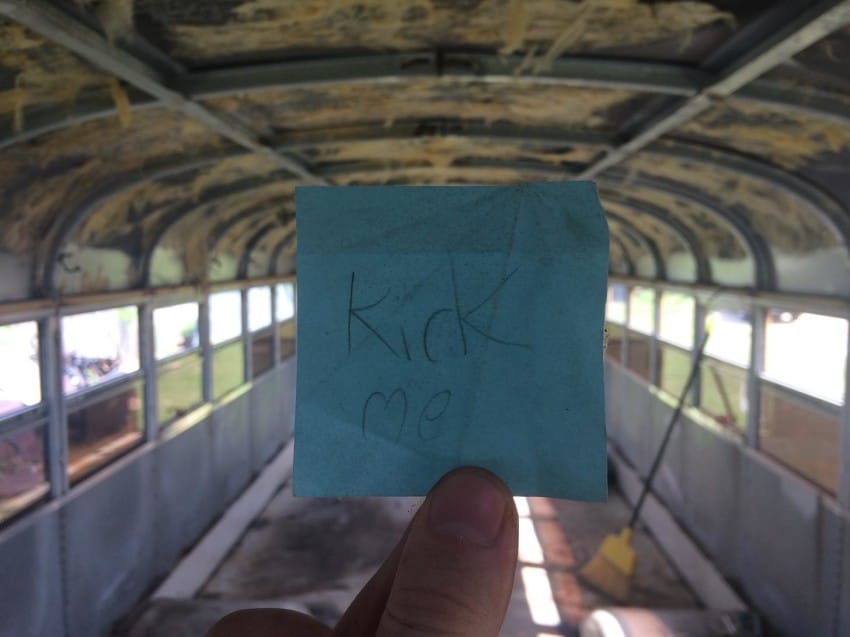
In case there was any doubt, this note proved that children were in fact riding this bus at one point in time. He wrote:
Found this actual Kick Me sign while cleaning out the bus.
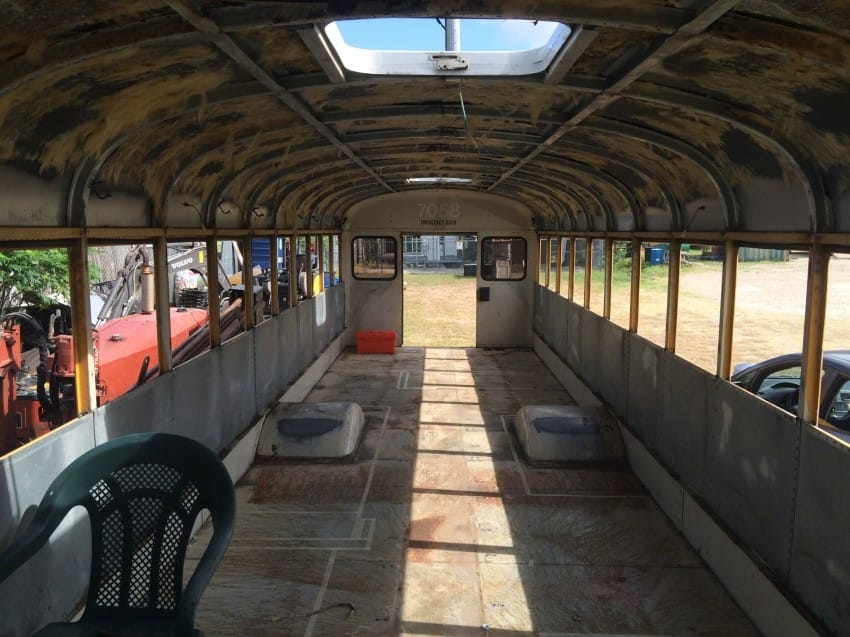
The windows weren’t too hard to take out.
Part of me wanted to keep them, but I knew they would rattle, provide little privacy or insulation, and look weird with my roof raise and design.

Scaffolding ready, screw jacks in place, all that’s left to do now is cut my bus in half!
I cut a section out of one of the steel ribs and took it to a metal fabricator. I had him craft 25 identical steel “sleeves” that could slip over either end of the rib once the roof was raised.

Consider this roof raised! Side note: I hate every person that makes a “raise the roof” joke. And that’s almost every person.

First side done. Easily the most painful and bloody part of the build. Got a sweet permanent scar on my fore arm from when one of these steel sheets fell and sliced my arm open. Don’t worry, I’ll spare you the gorey photos! [sic]
Riveted steel. The bus is basically an oven right now, what being solid steel and in Texas. Though apparently it’s also semi-bullet proof!

Steel walls complete, with a festive christmas motif going on.
I also ground out and painted the floor with Rustoleum for added protection, and because it looks cooler than rusted steel.

Framing day! Building up my fridge and entertainment center frames.
It’s remarkable how much more spacious the bus feels that [sic] I thought it would.

IKEA phased out their old kitchen line and I got a hell of a deal on these drawers and cabinets. I paid $30 for everything!
The butcher block was also a great deal. All the butcher block in this bus was bought on clearance for $120.

I took my IKEA Karlstad couch from my apartment and took off the back, arms, and feet so I was left with the cushions and the box spring base. I build that into the bus for added comfort and style.
The rest of this framing is for the water tank/system storage next to the couch and for the bathroom. Found this American flag cast aside at the bottom of a clothes bin at Goodwill and decided to put it to good use.

The only cosmetic design that I knew I wanted in the bus was dark hardwood floors, butcher block, and white subway tile with black grout.
Researched the hell out of tile in an RV and got to work. not the best job, but then again, first time I’ve ever done any of this stuff.

My bus was the “Armadillo” bus. I have two friends who actually rode this bus when they were kids. But I had to sadly scrape this off so I could paint the bus white.

Being a graphic designer I need a proper workspace. most tiny houses have these little dinky desks that flip up from a wall or are tucked away in a small alcove.
This desk is 5 feet wide and 2 feet deep, the largest desk I’ve ever owned! I found this amazing desk chair that folds down into itself for easy storage, and the left side of the desk is held up by 4 cubes that hold all my vinyl records.
I need to say I SUPER lucked out with this wood. It’s reclaimed floorboards from a house here in Hyde Park in Austin, from 1941. I just flipped it upside down and used the unfinished sides for all my accent walls/couch.

After the basics were done — plumbing, electricity, etc. — he got to work installing solar panels on the roof, paneling the ceiling and walls with wood, and decorating.

Next, he wrote:
Moved the bus to a slightly different spot on the farm to prep it and paint it.
Painted with Rustoleum. White is best for the heat here in Texas, and leaves me open to add colors down the road. I also couldn’t think of what colors would go with my wood interiors.

Finished bedroom. I really wanted to keep the front and the back walls original, and it’s a lot of fun opening the back emergency door at night and waking up the the [sic] forest every morning.
I originally didn’t have a TV in here, and entertainment center was designed to be a headboard. But after a few weeks of watching Netflix on my phone I decided I was kidding myself that I couldn’t have a TV in my bedroom and bought this guy the next day.

The kitchen looking all fancy. Still need to add wood to the end cap wall and the cab ceiling. All in all the kitchen cost me about $300, the most expensive part being the faucet. This kitchen is nearly 8 feet long! Bigger than the kitchen in my last studio apartment!
I use this window unit in the summer (which I hate how it looks) but it was much cheaper than a roof top AC unit and much easier. I store it in the winter time under the bed where I have tons of storage.

When I bought my bus I was living in a studio apartment in North Austin for around $1200 a month including rent and bills.
I moved into a tent in order to save money while working on the bus, commuting 40 minutes to work every day, just to afford more steel and more wood.
I had never built anything before, and I couldn’t sleep for months because my brain was constantly going a mile a minute about how to build this and what I was going to do to build that. It was the hardest thing I’ve ever done.

Do you think you could live in a renovated school bus like this?
If you love tiny homes, please Liked Video this article with your friends!
